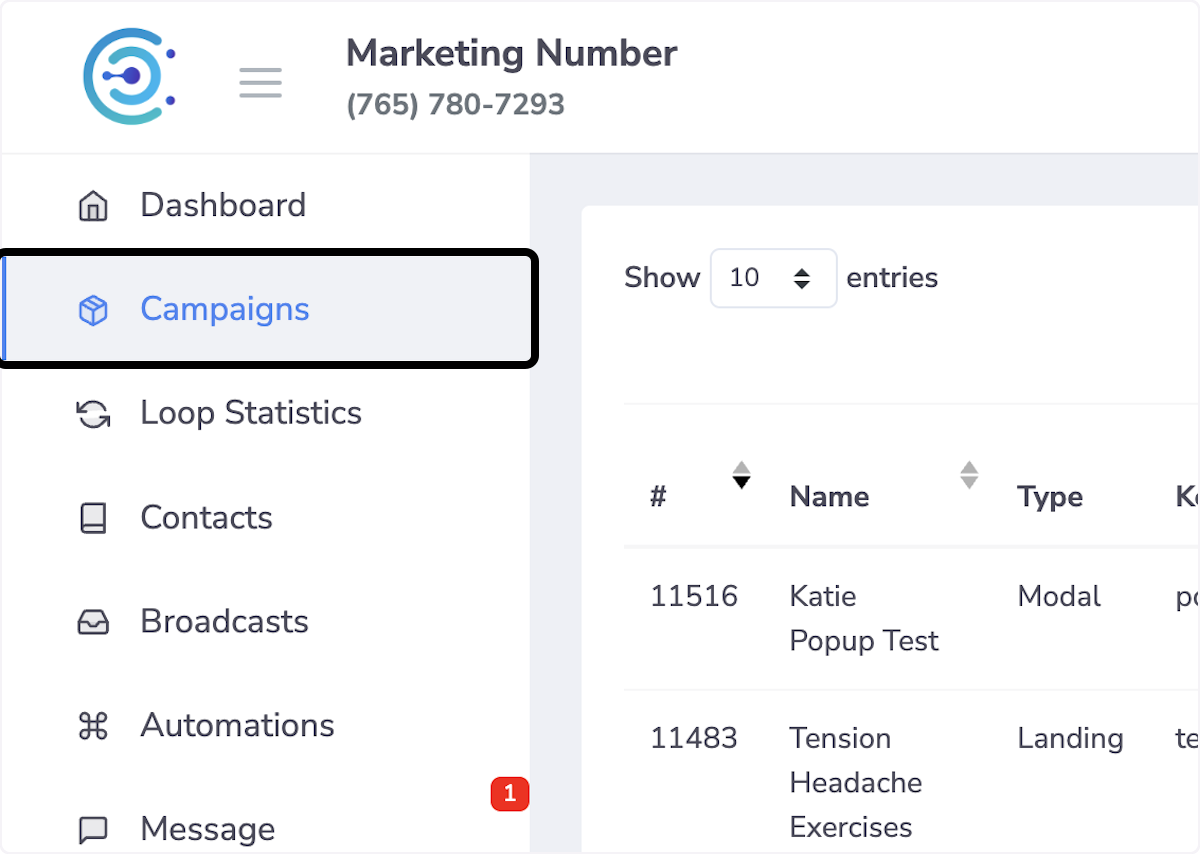
2. Click on Campaigns
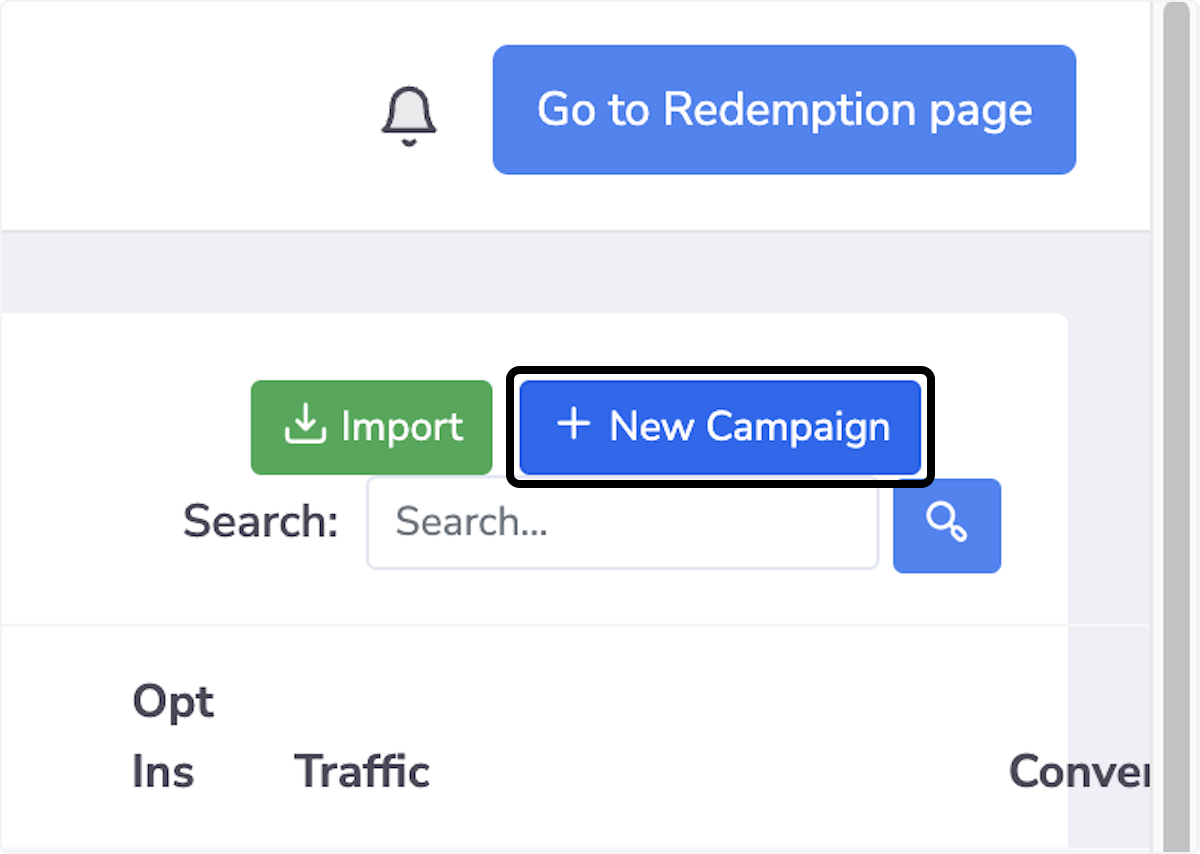
3. Click on New Campaign
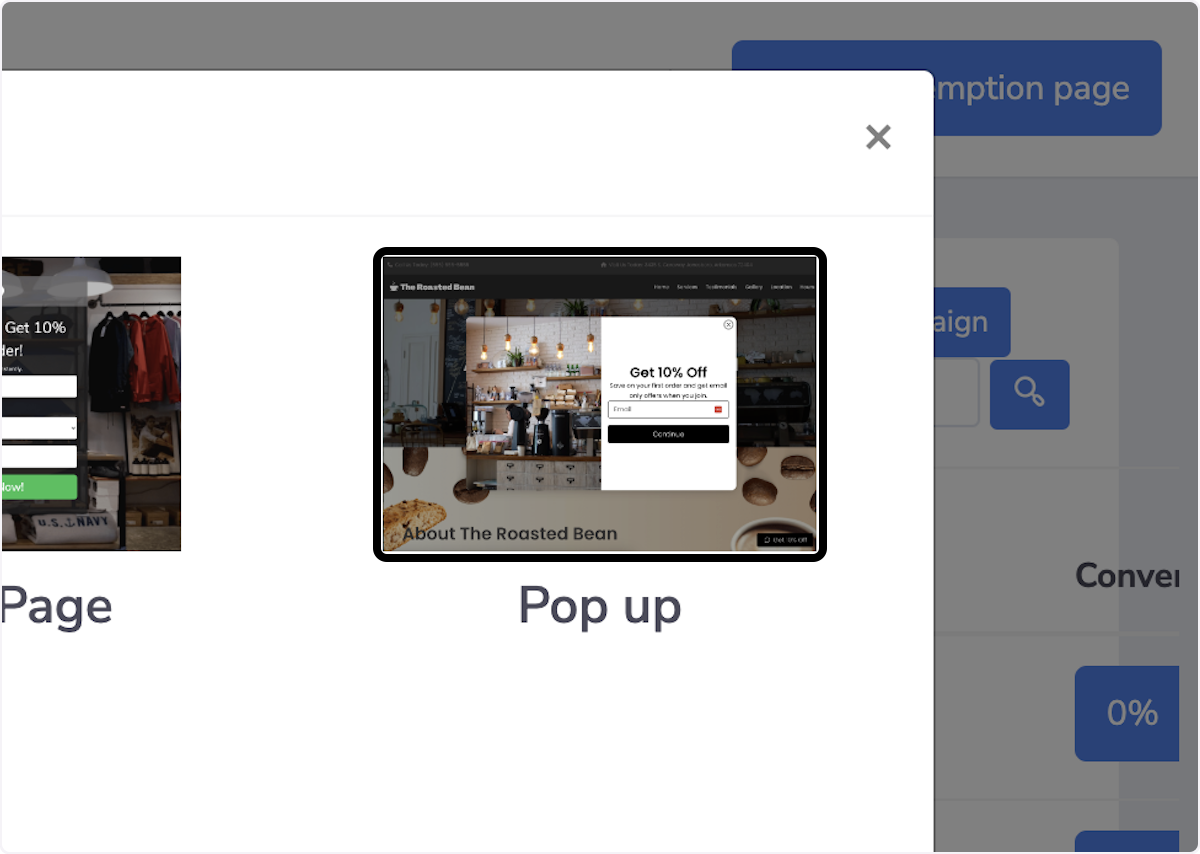
4. Click on Pop Up
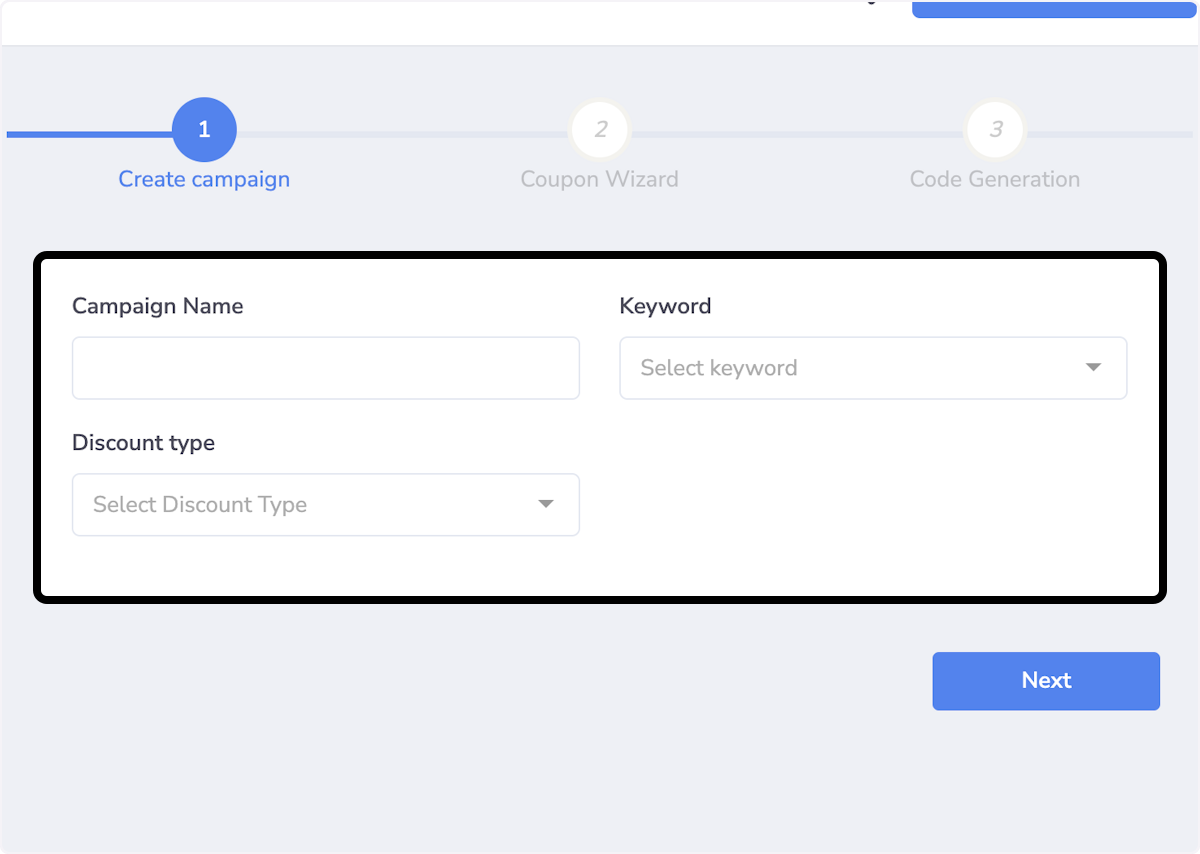
5. Create Campaign
Campaign Name - What you'd like to name your campaign
Keyword - the keyword that will be associated with your automation
Discount Type - Type of discount for your offer
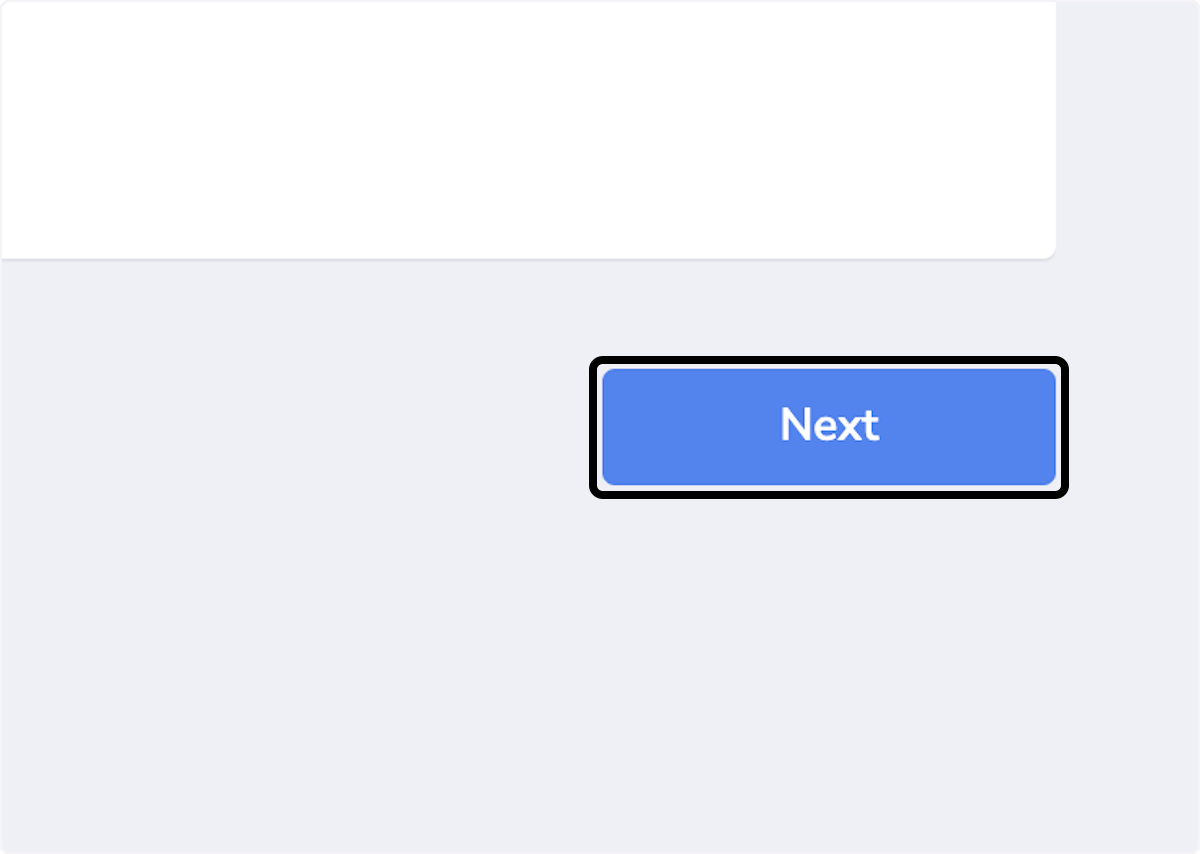
6. Click on Next
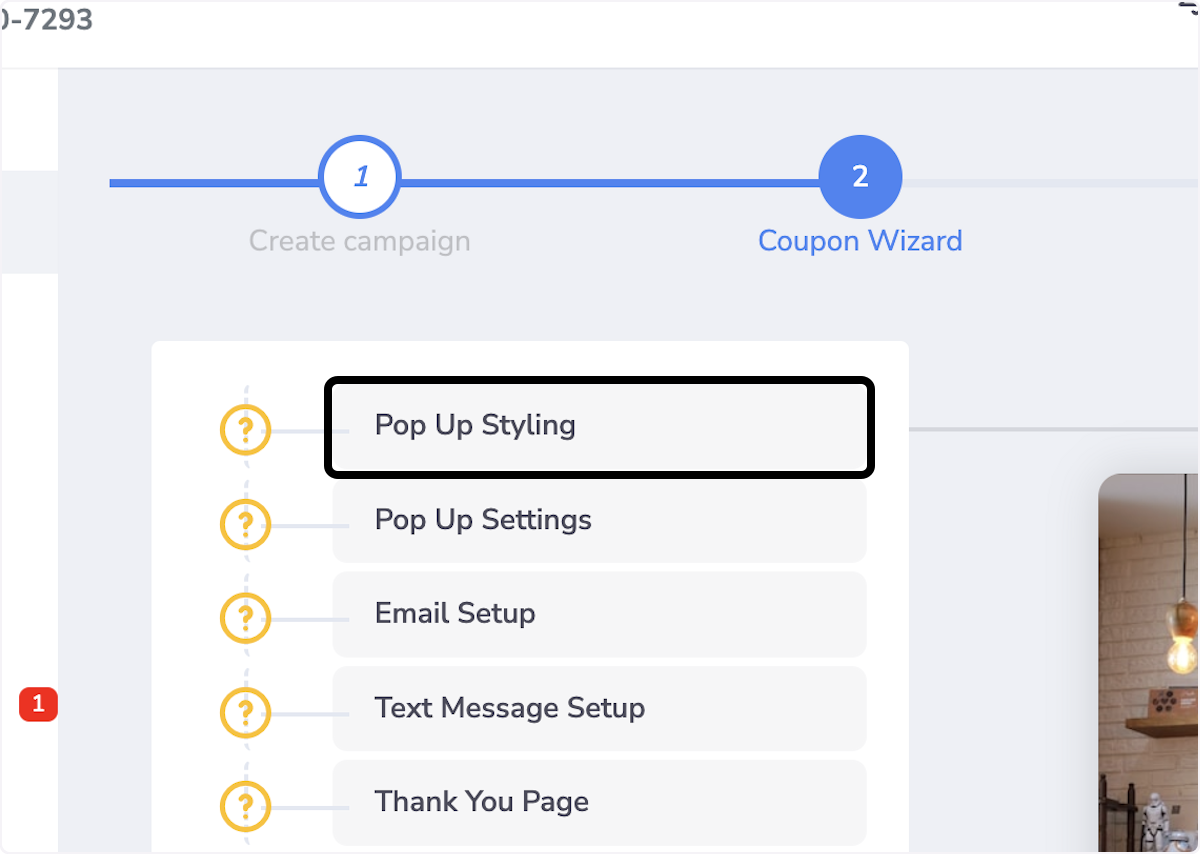
7. Click on Pop Up Styling
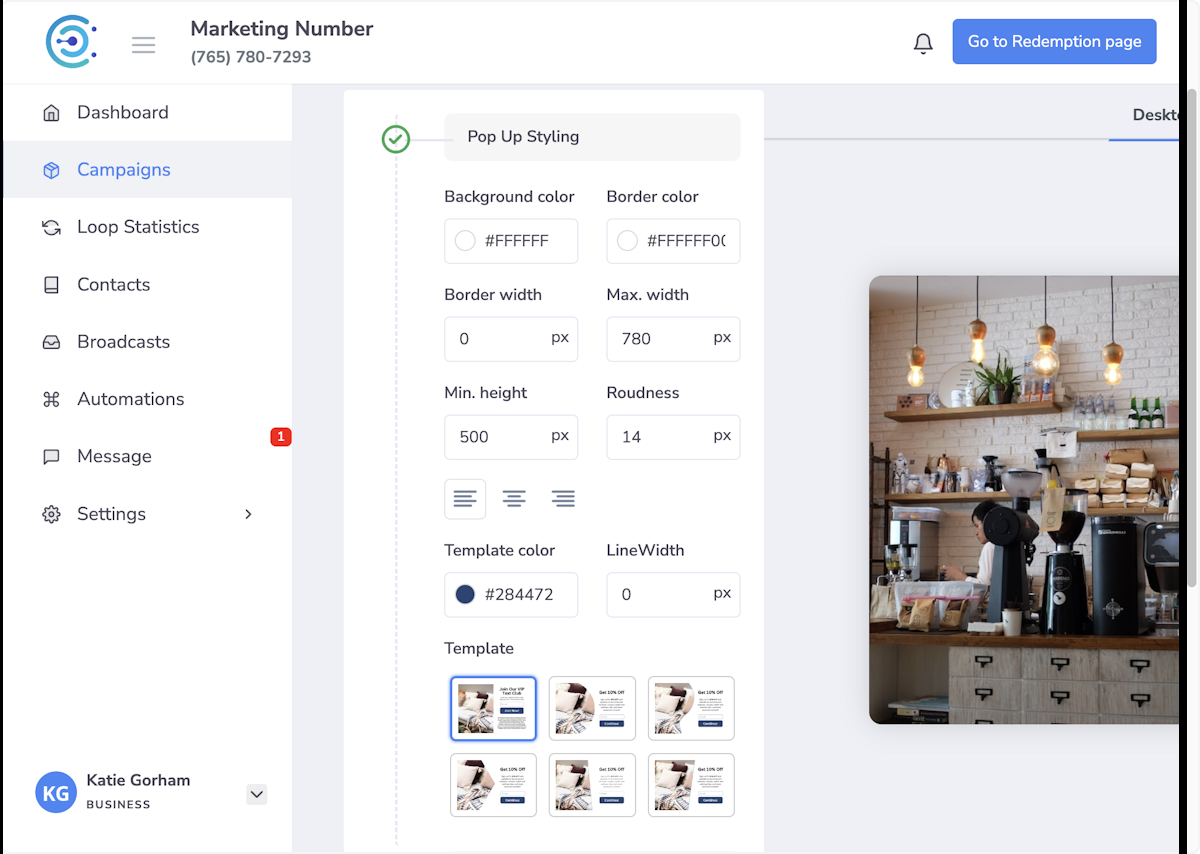
8. Chose your Style
Choose the style for your pop up
Pick Background Color
Pick Border Color
Choose Border Width
Choose Max Width for Pop up
Min Height for your pop up
Roundness for your pop up
Choose Template Color
Line Width
And Template Style
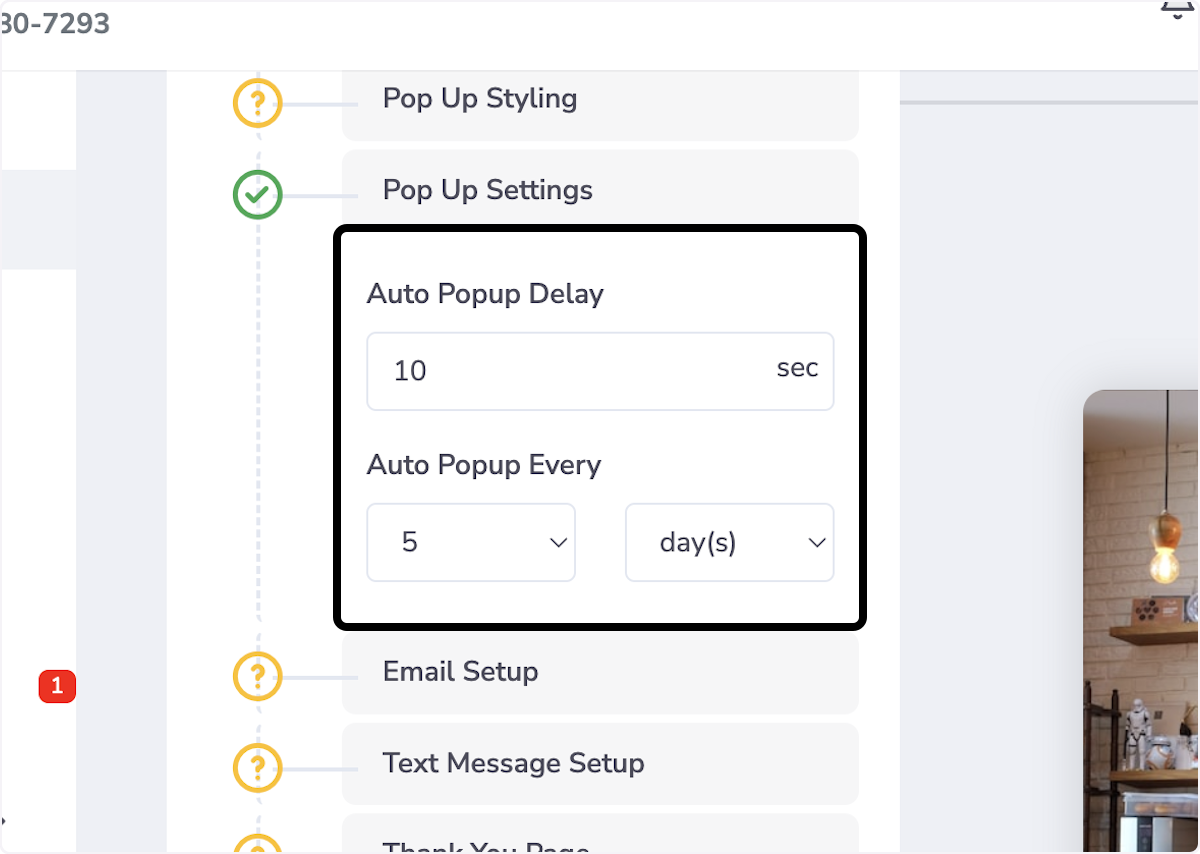
9. Click on Pop Up Settings
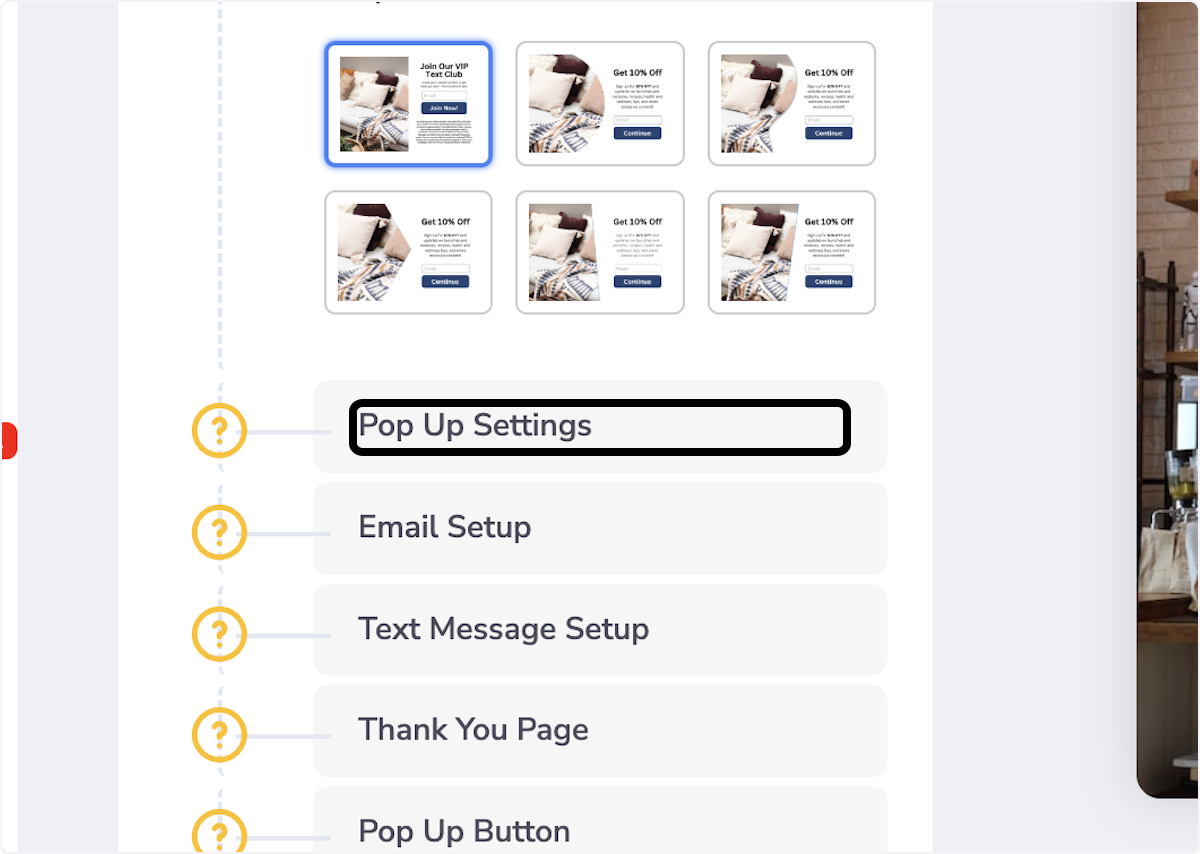
10. Choose Your Popup Settings
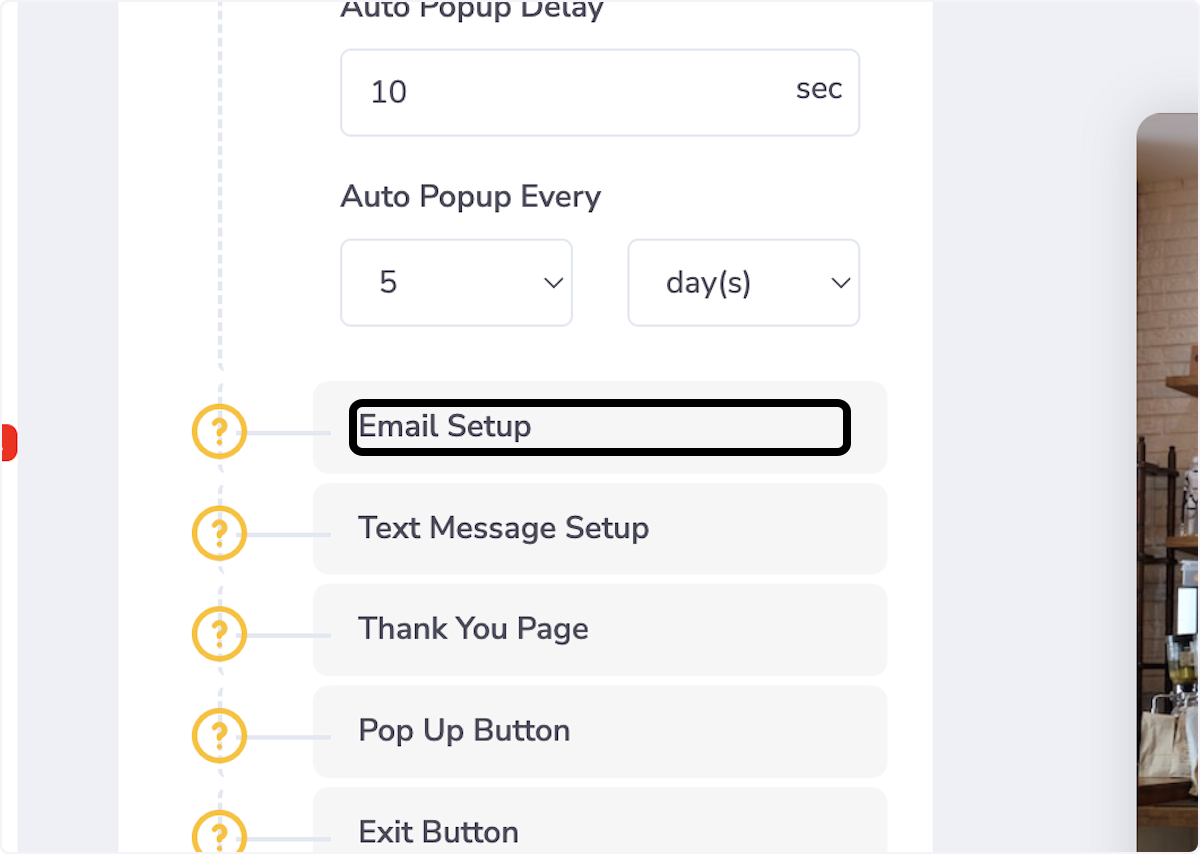
Choose your auto popup delay
Choose when your popup will appear on the website after every visit
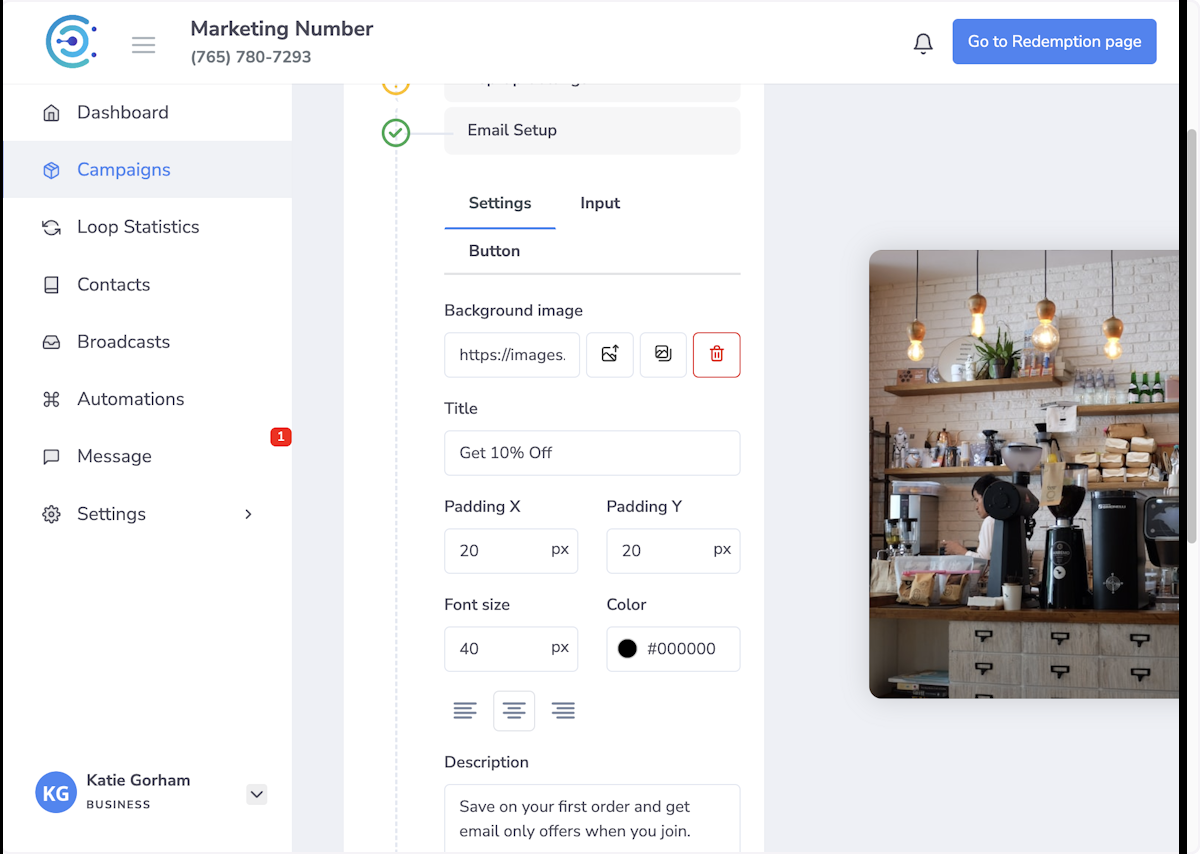
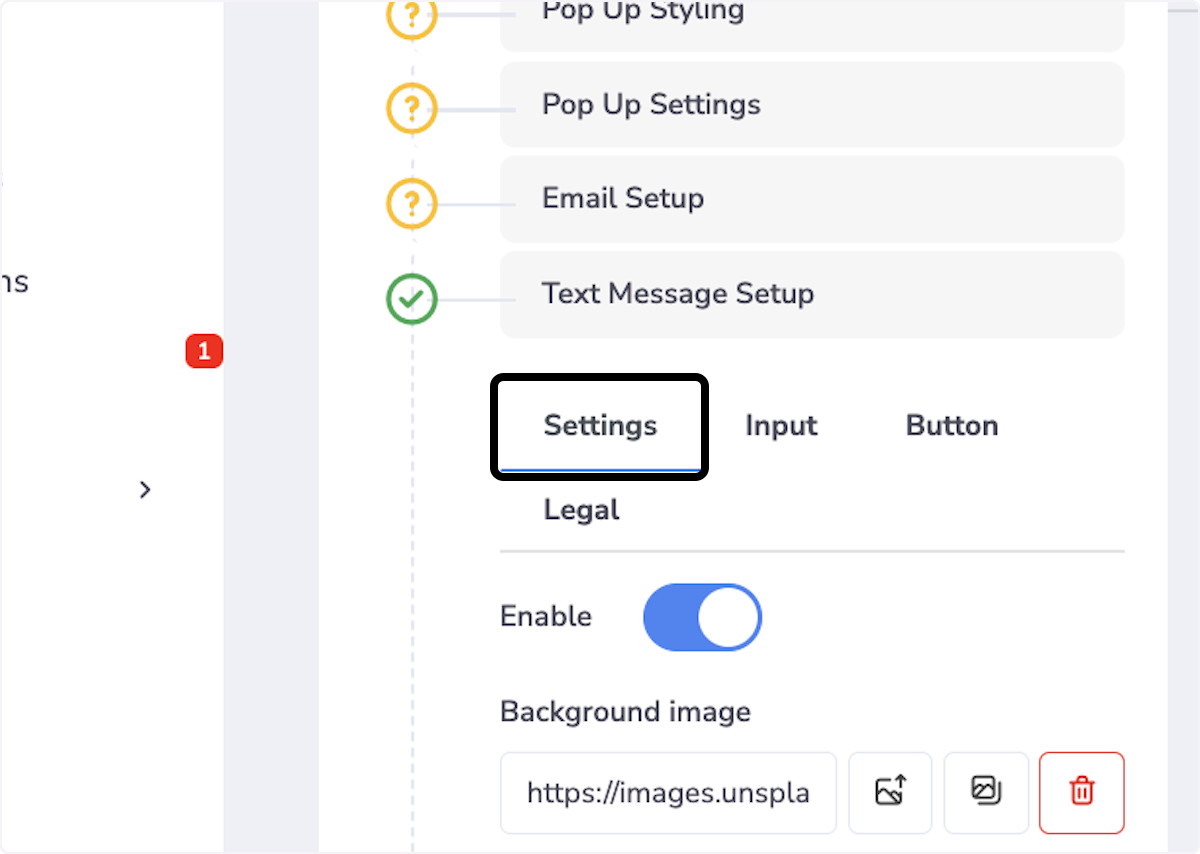
11. Click on Email Setup
12. Click on Email Setup Settings
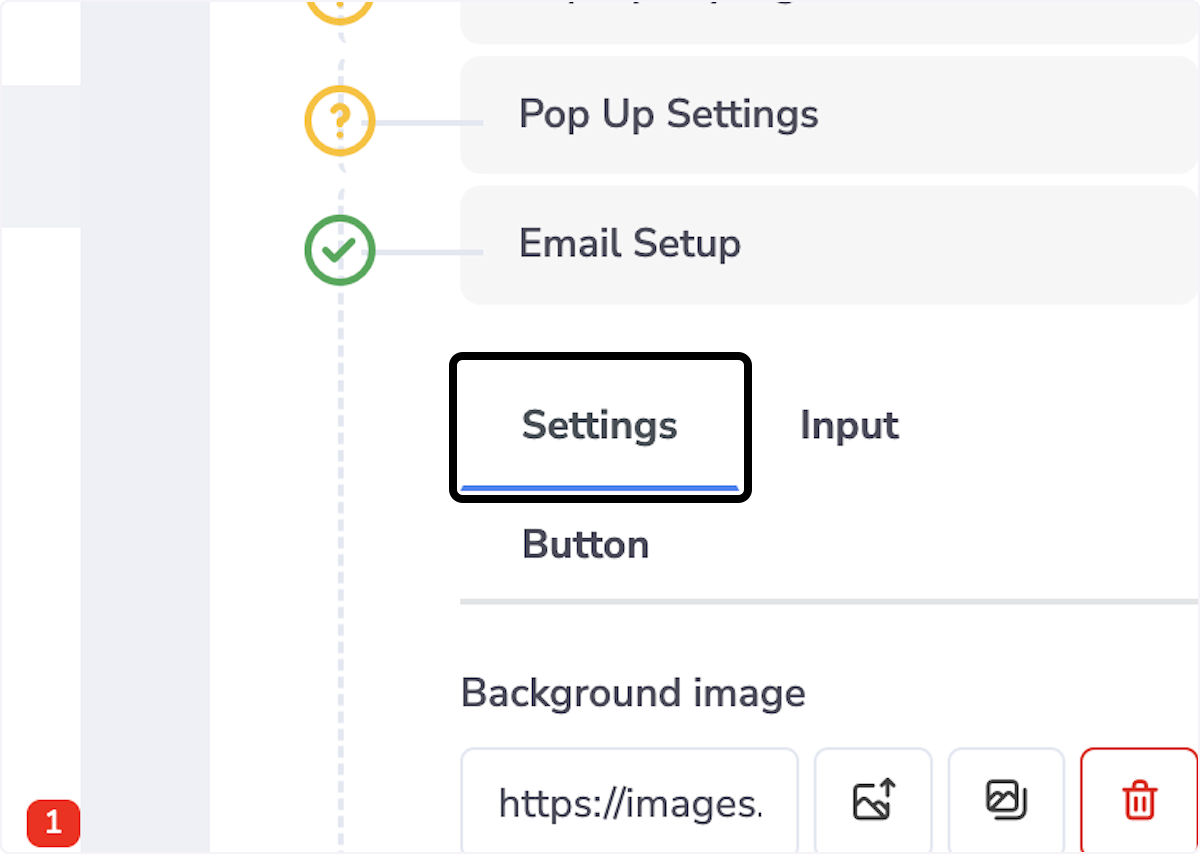
13. Setup Email Popup
Choose your background image
Title (Offer)
Padding for x and y axis
Font Size and Color for Title/Description
Alignment for Title
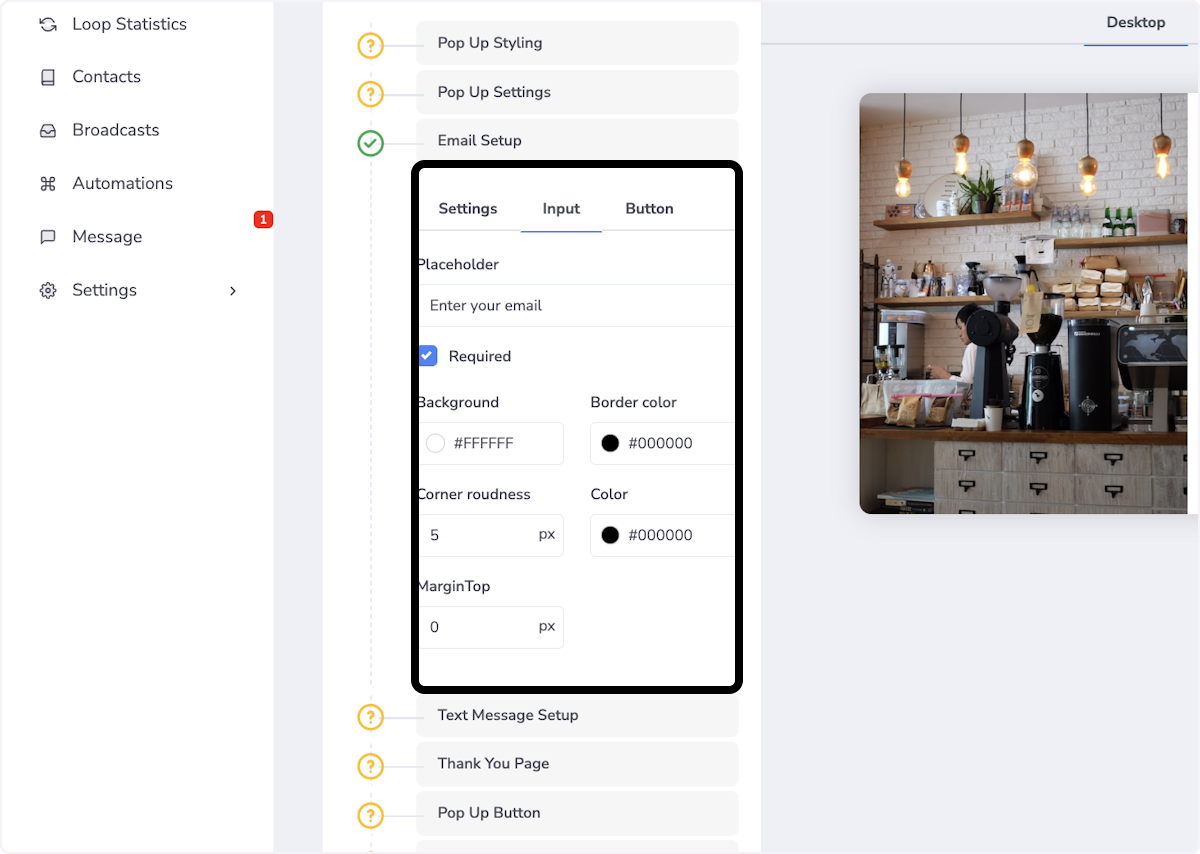
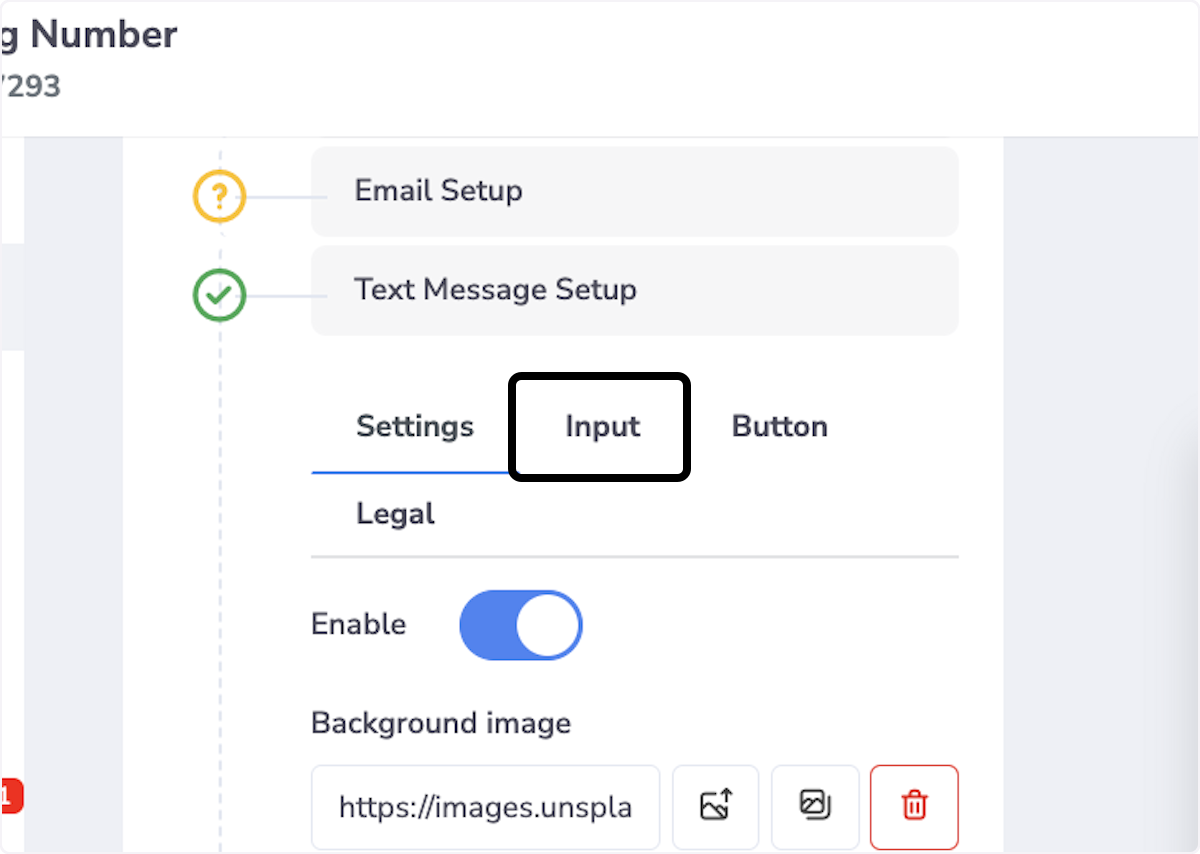
14. Click on Input
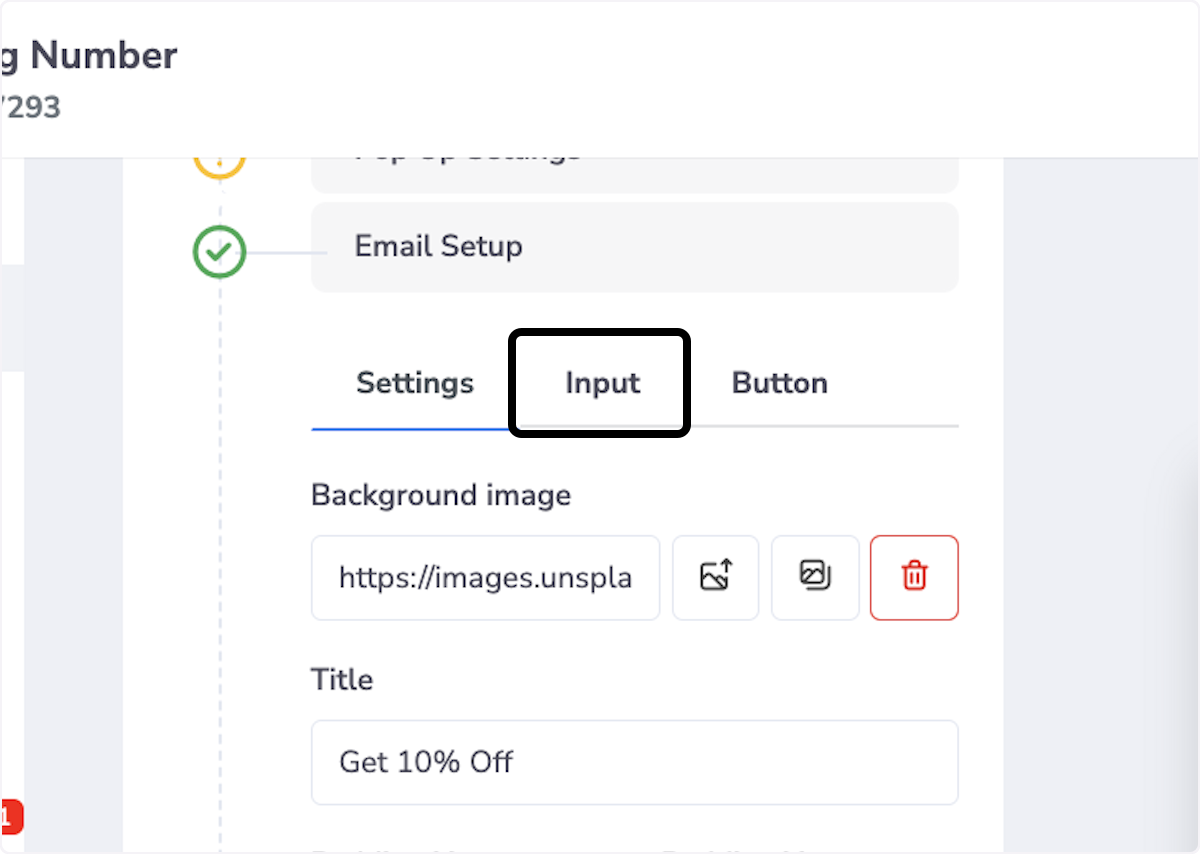
15. Input Settings
Place Holder You Can Change the verbiage
Background color/Text color of the Email box
Border color as well as roundness
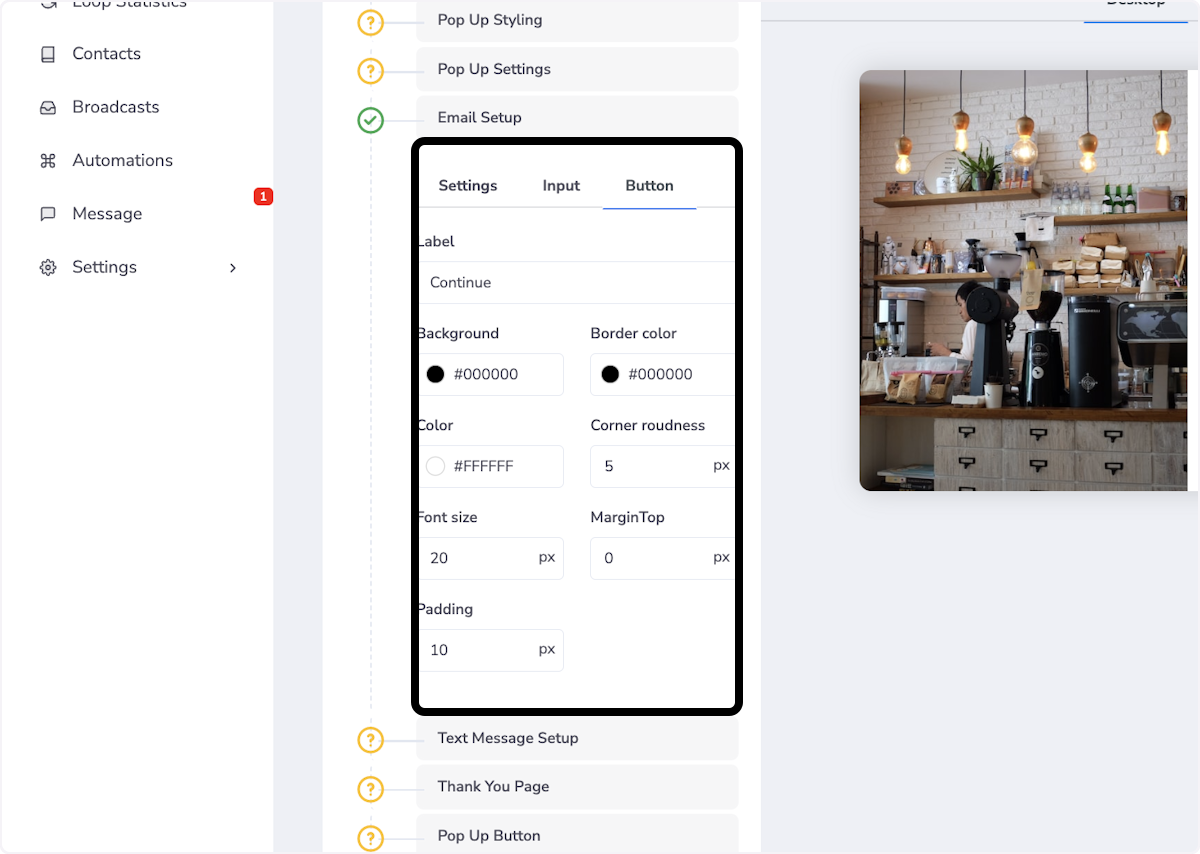
16. Click on Button
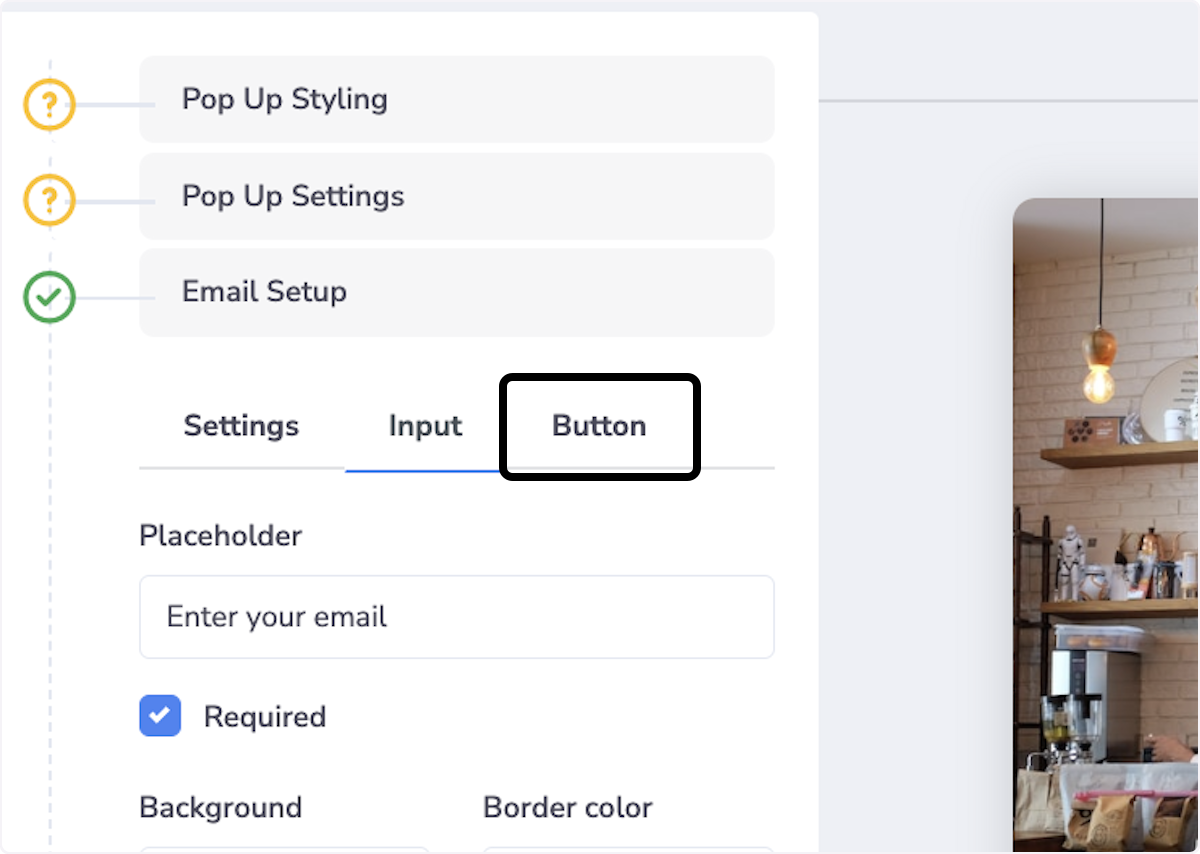
17. Button Settings
Update what your button says
Change the color of the background/border
Change the Font color and size
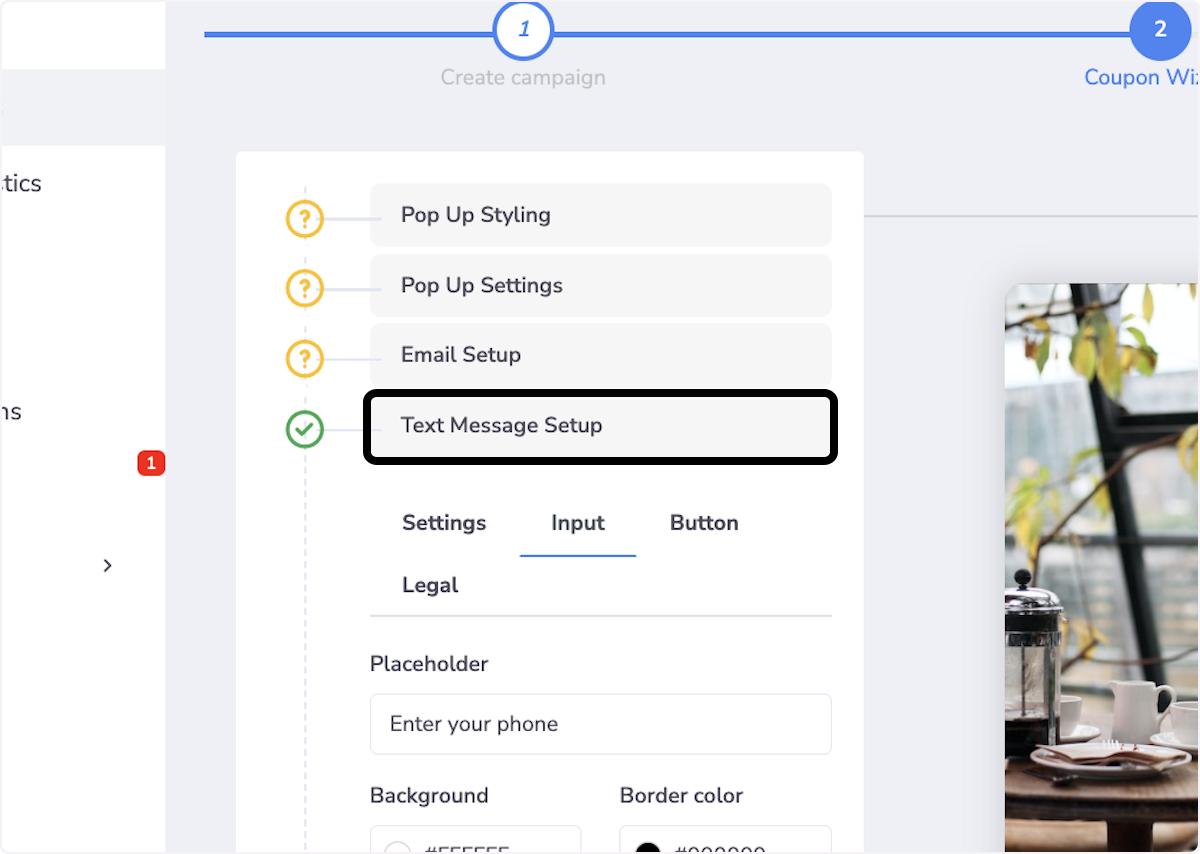
18. Click on Text Message Setup
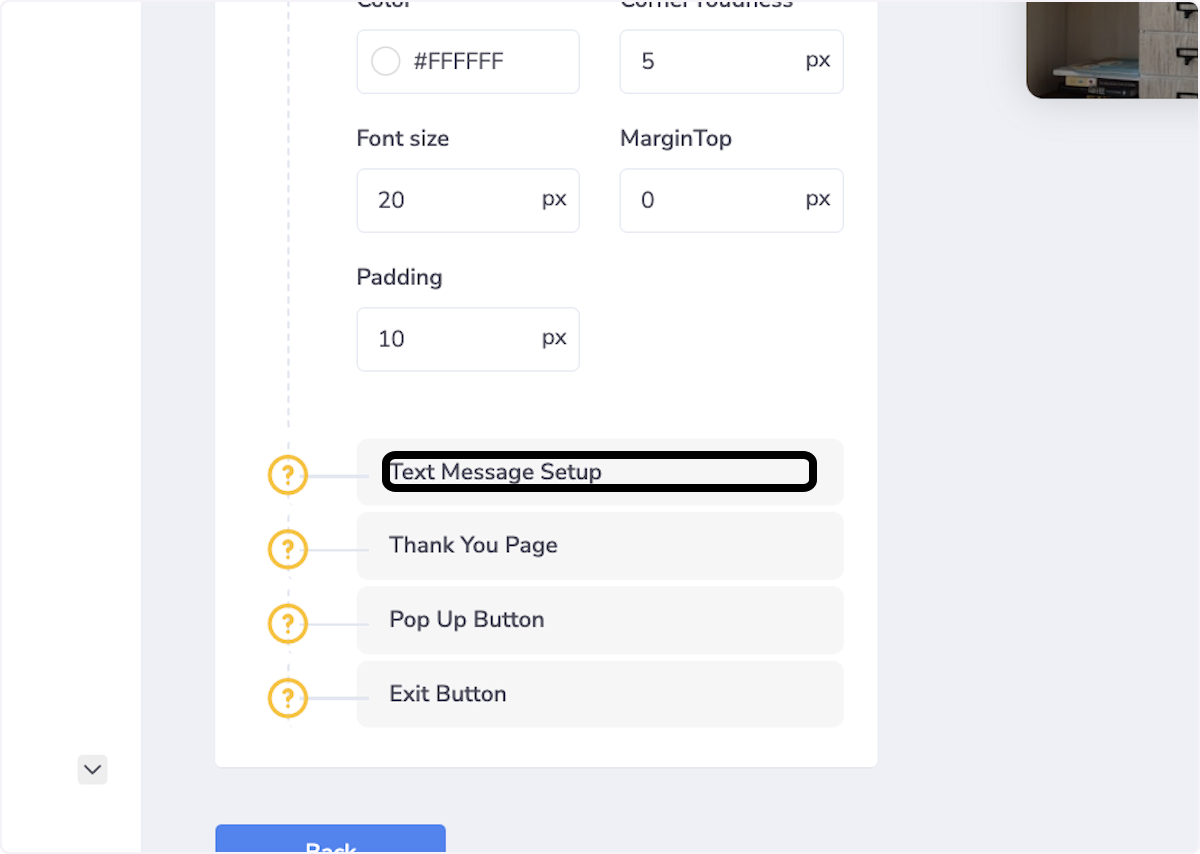
19. Click on Message Settings
20. Message Settings
You can enable Text Message or Disable Text Message
Upload a background
Change the Title/Description
Update the font size and color for Title/Description

21. Click on Text Input
22. Text Input Settings
Update Placeholder
Background Color and border color of box
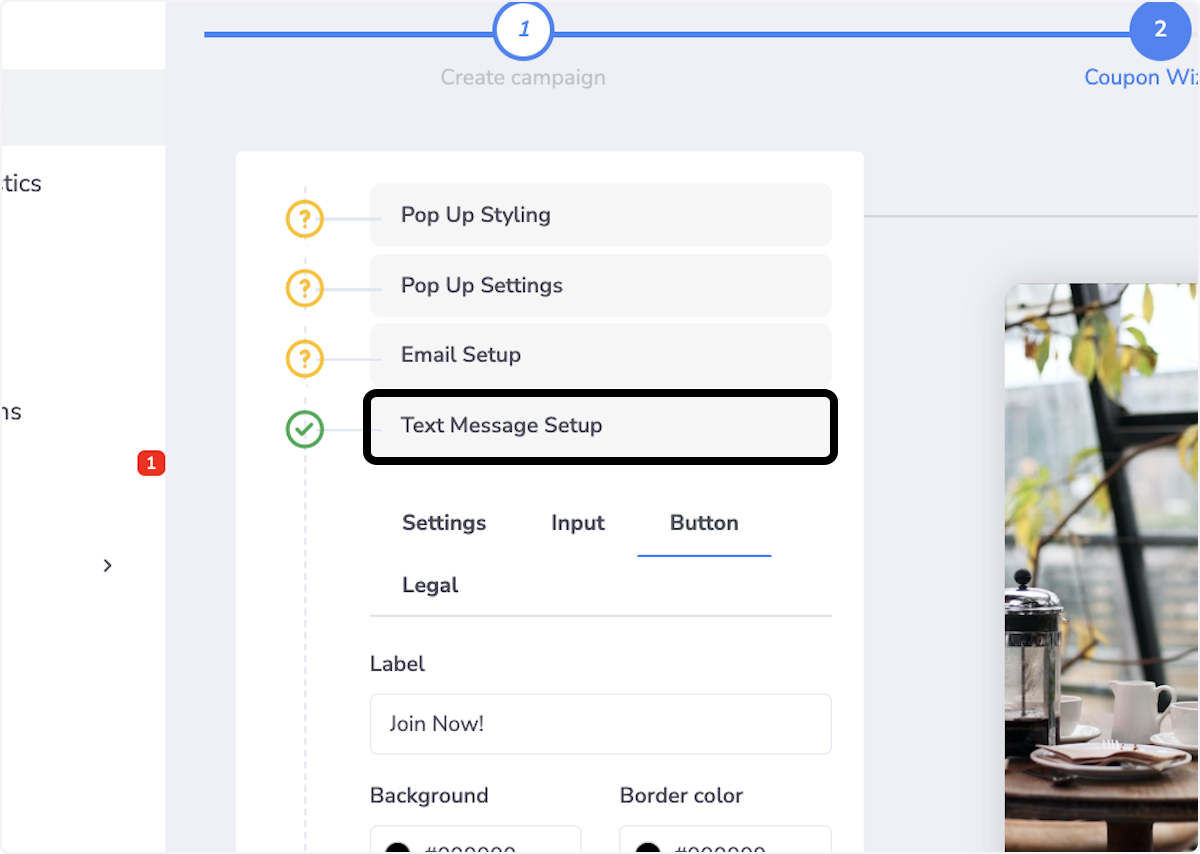
23. Click on Text Button
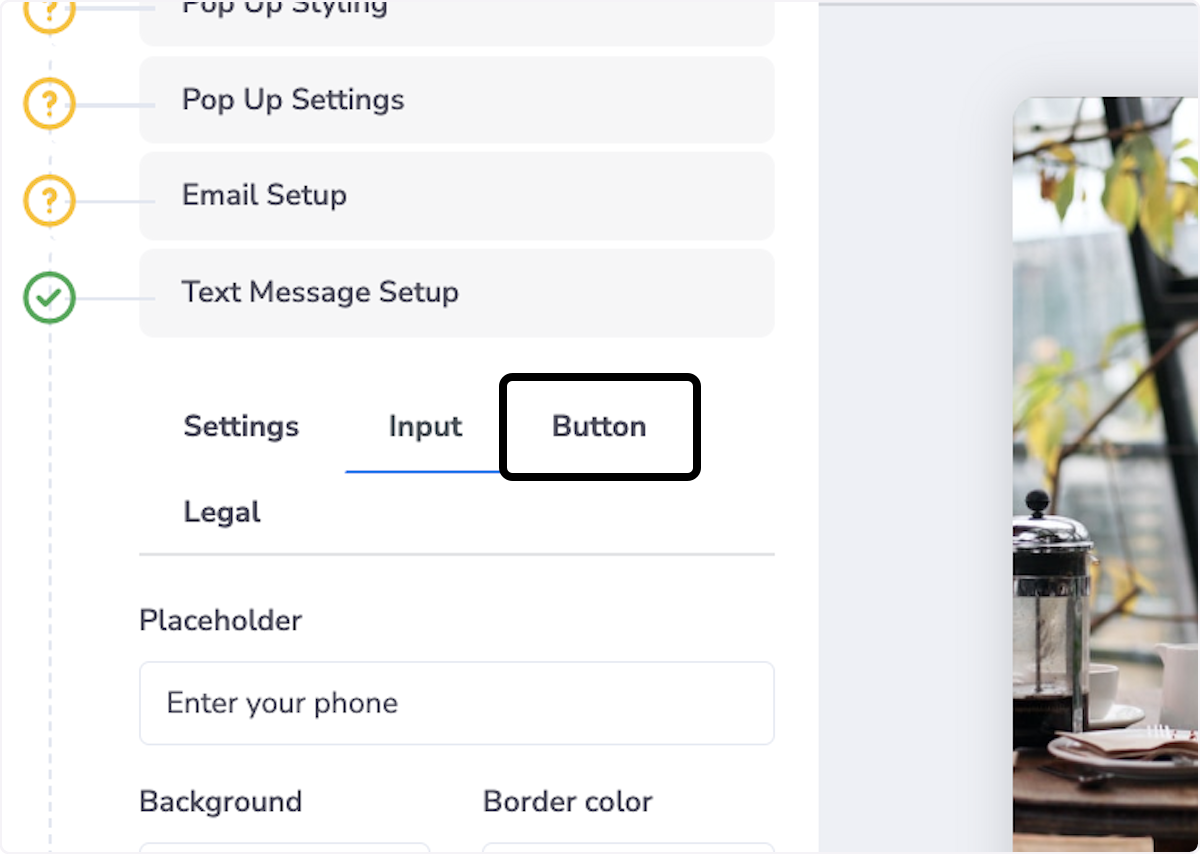
24. Update Button for Text
Change Label
Update Background Color and Border Color
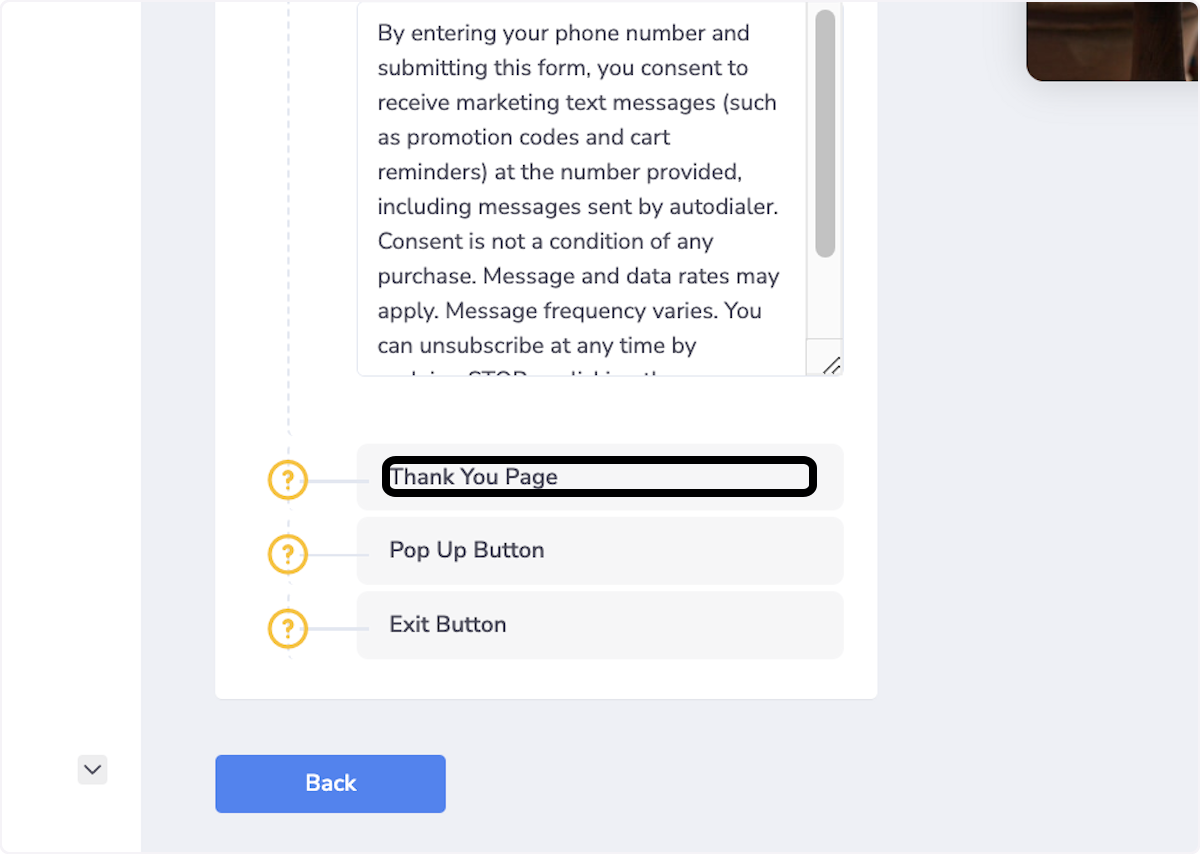
25. Click on Legal
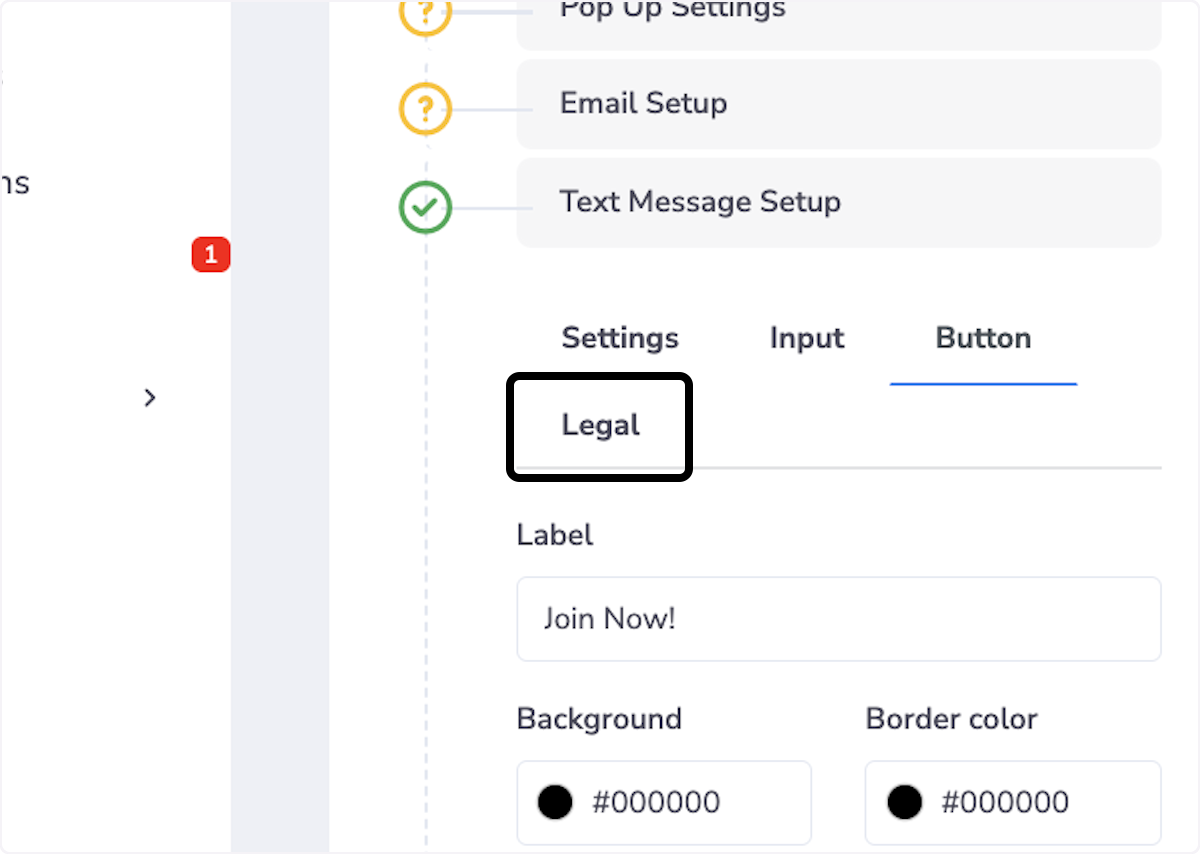
26. Update Legal Text Setting
Update Legal Information
Change Font Size
Change color of font

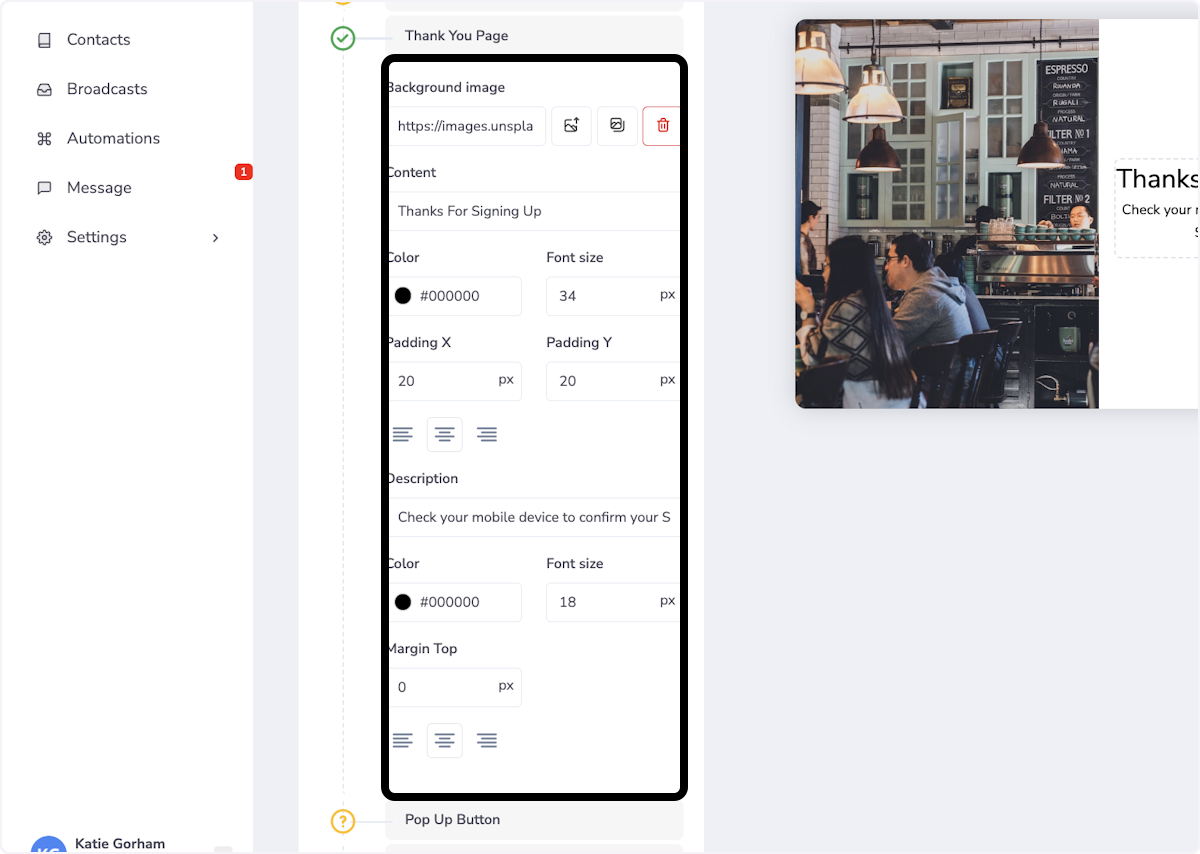
27. Click on Thank You Page
28. Thank You Page Settings
Update Background Image
Update Content
Update Color and Font Size
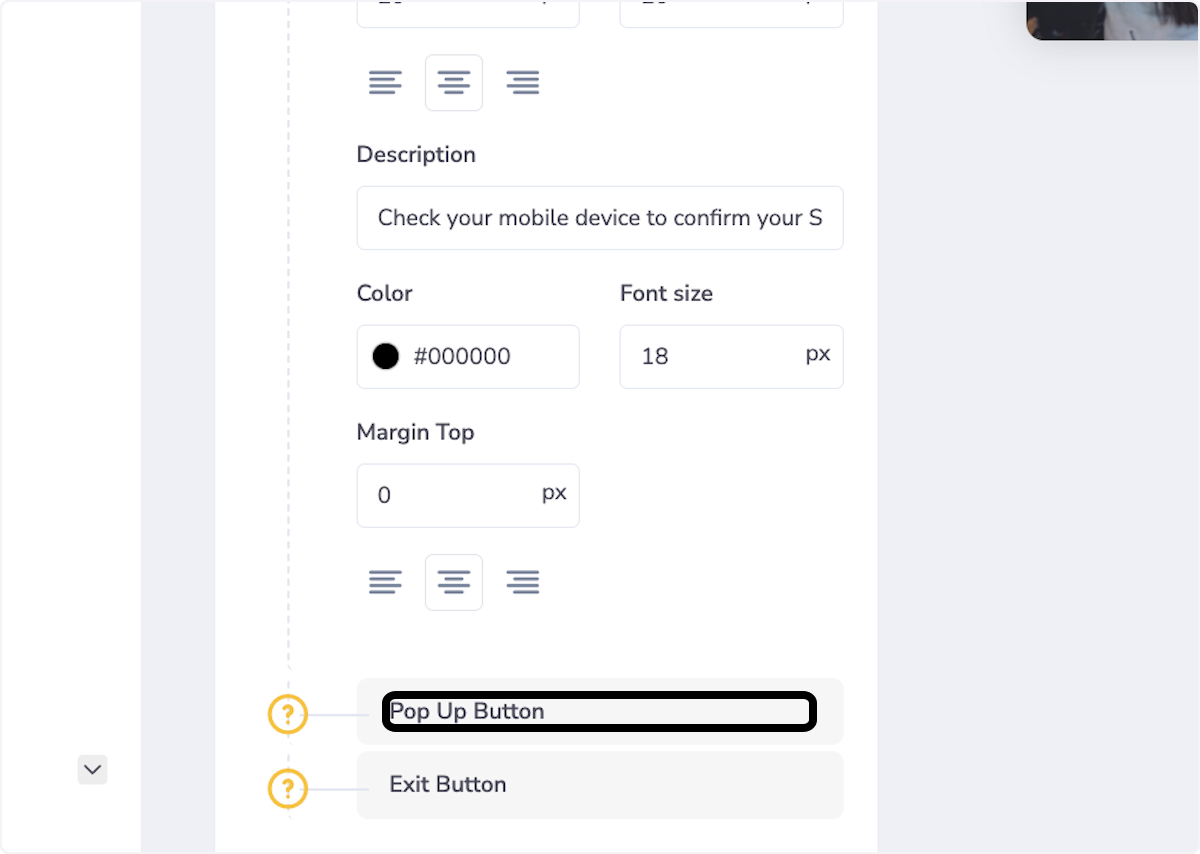
Update description as well as its font color and size
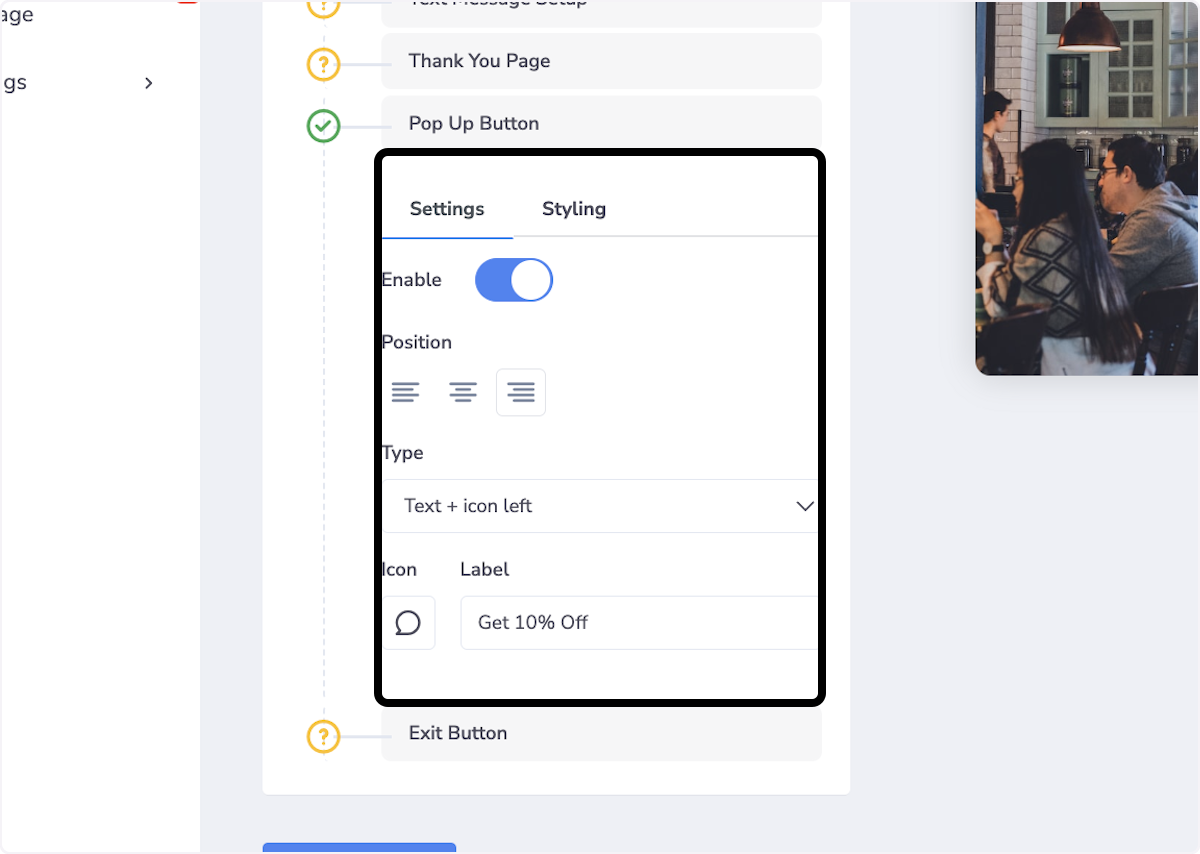
29. Click on Pop Up Button
30. Click on Button Settings
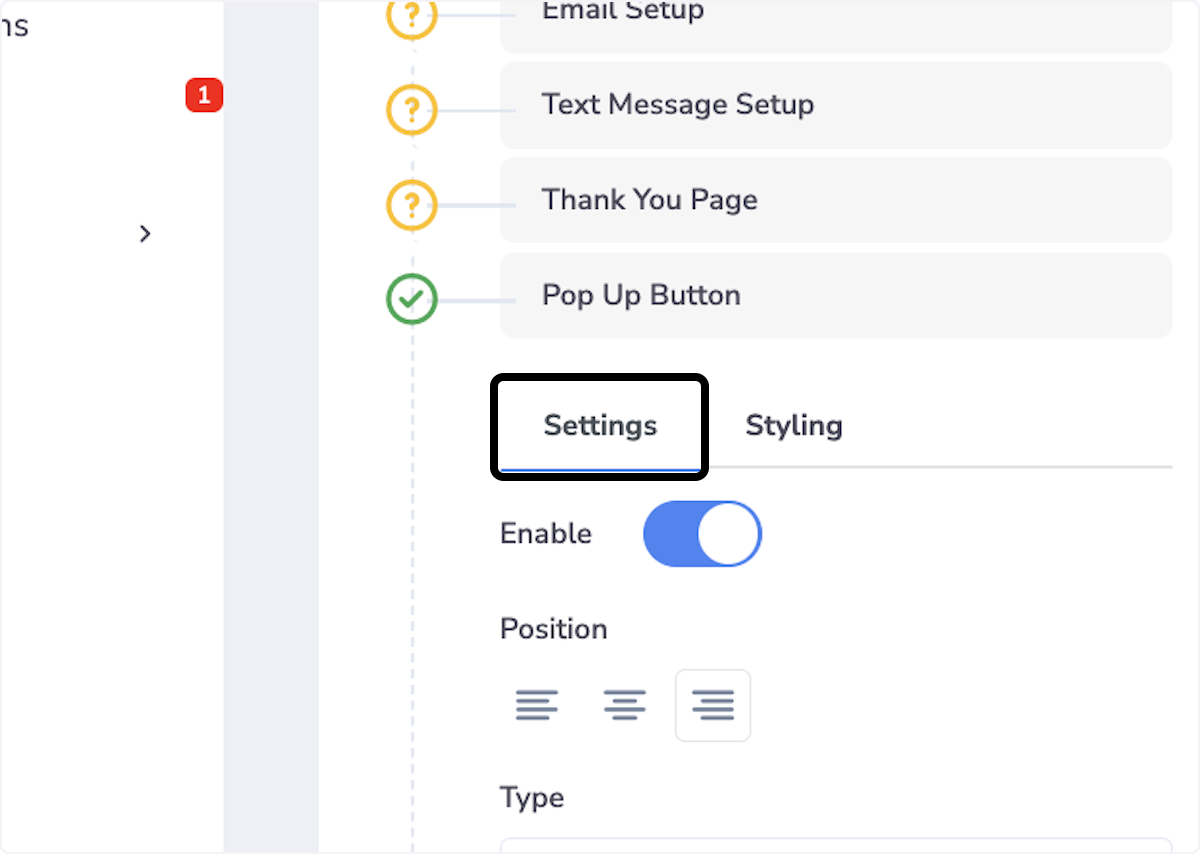
31. Update button settings
You can enable or disable the popup button
You can chose the type of pop up
Choose the icon and message
32. Click on Styling
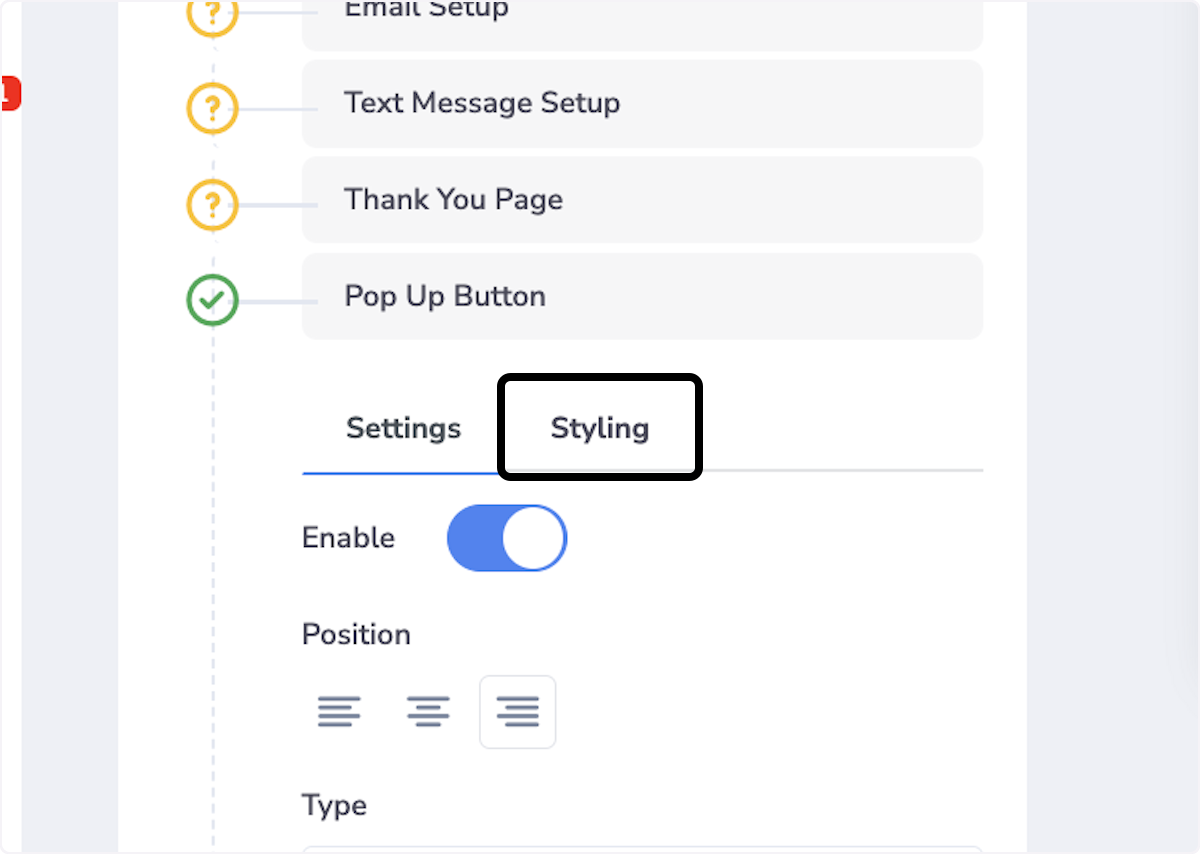
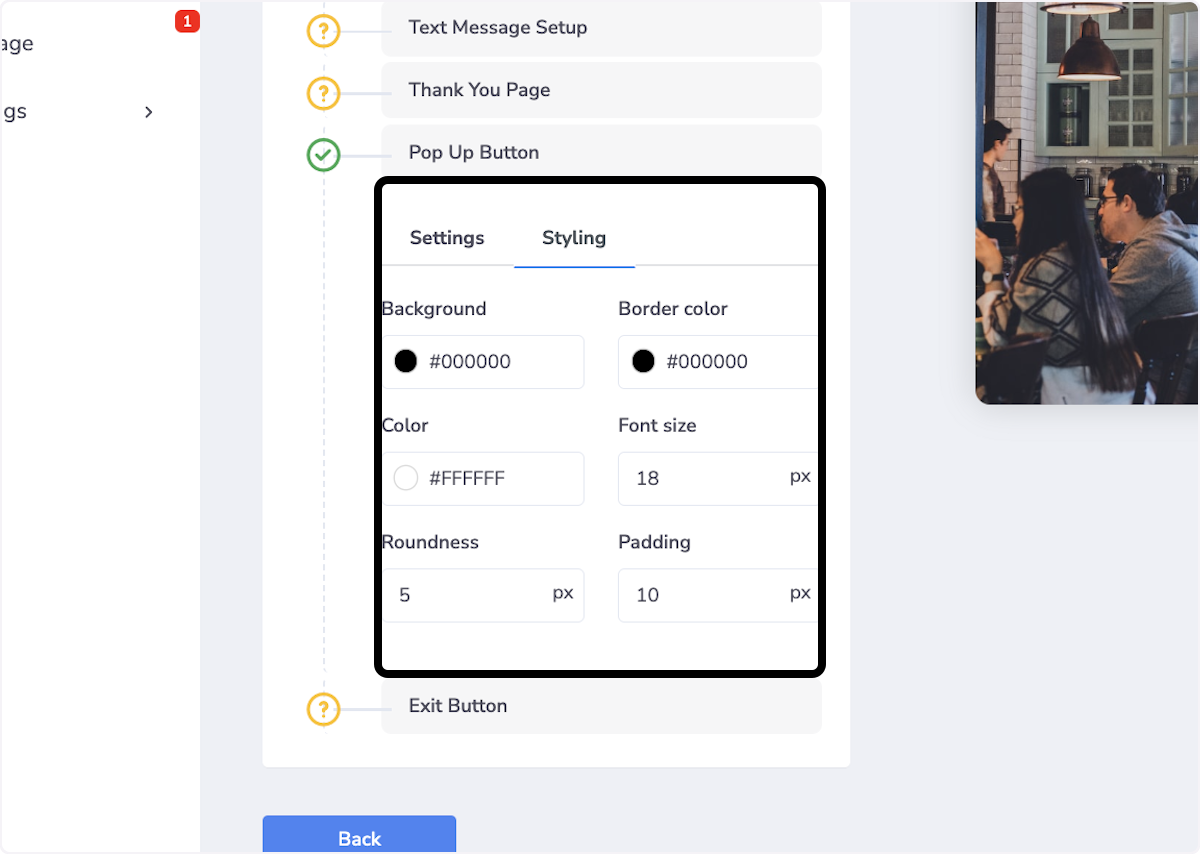
33. Update Button Styling
Update Background/Border Color
Font Color/Size
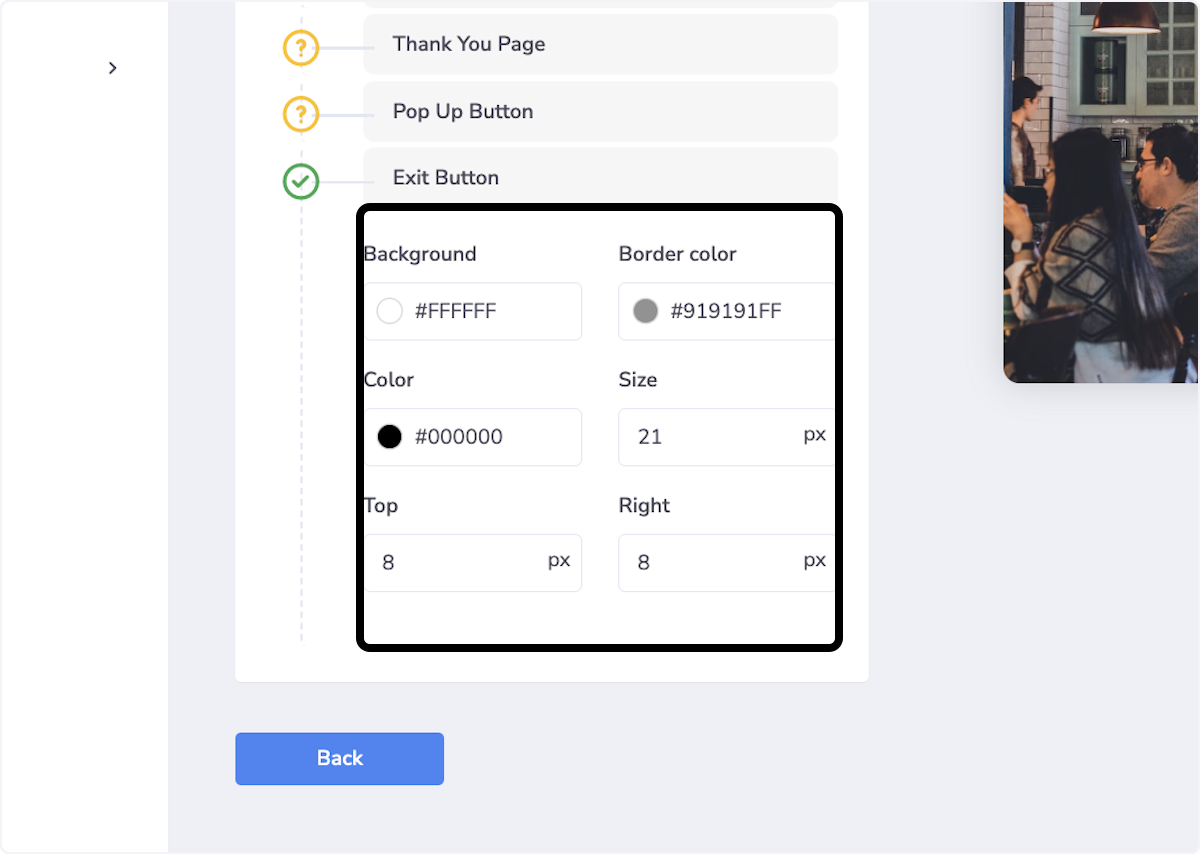
34. Click on Exit Button
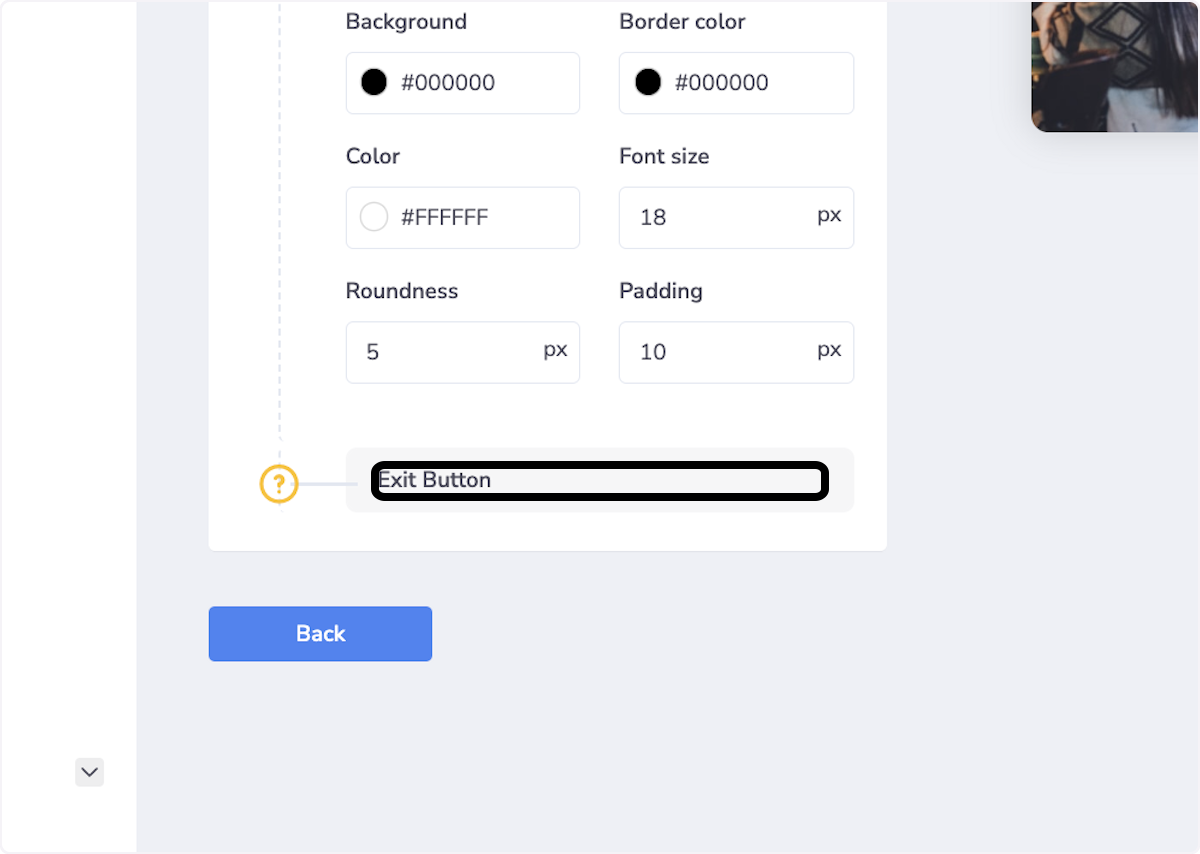
35. Update Exit Button Settings
Background/Border Color
Font Color/Size
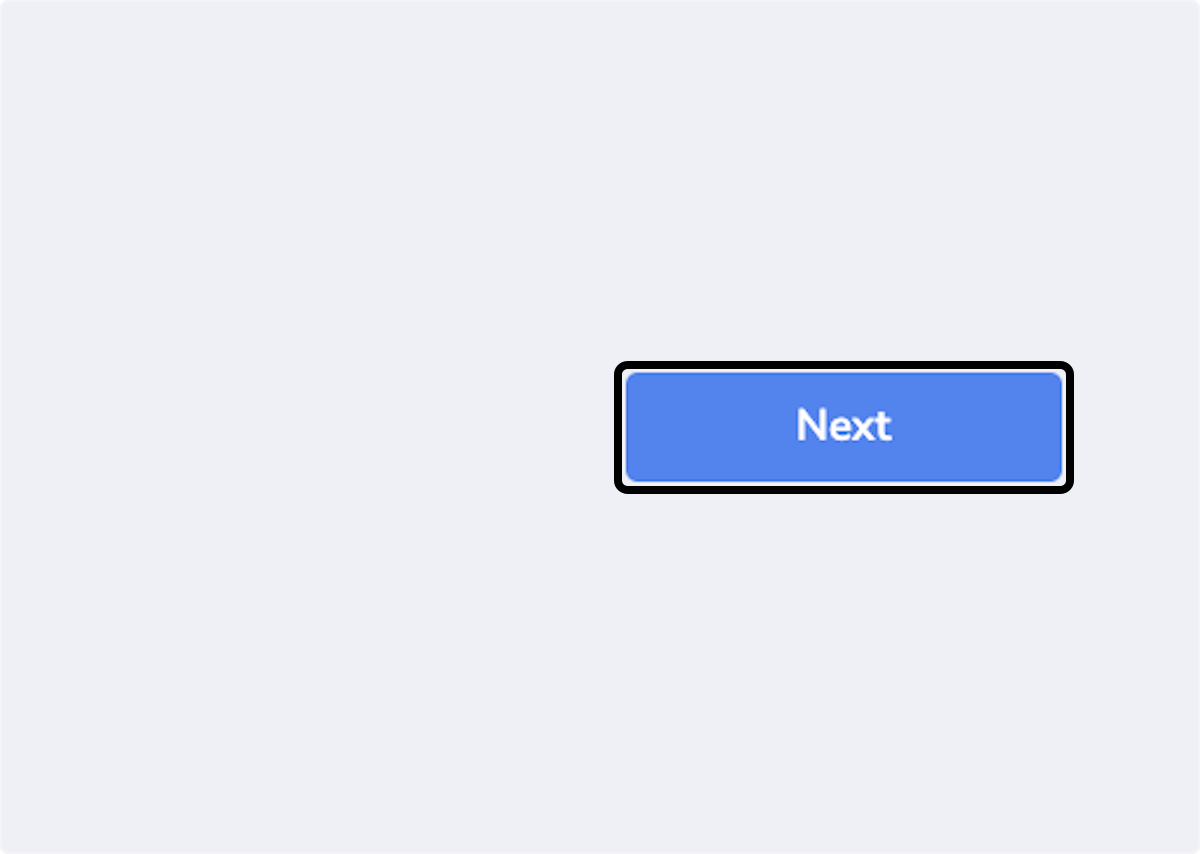
36. Click on Next
37. Click on Copy the code
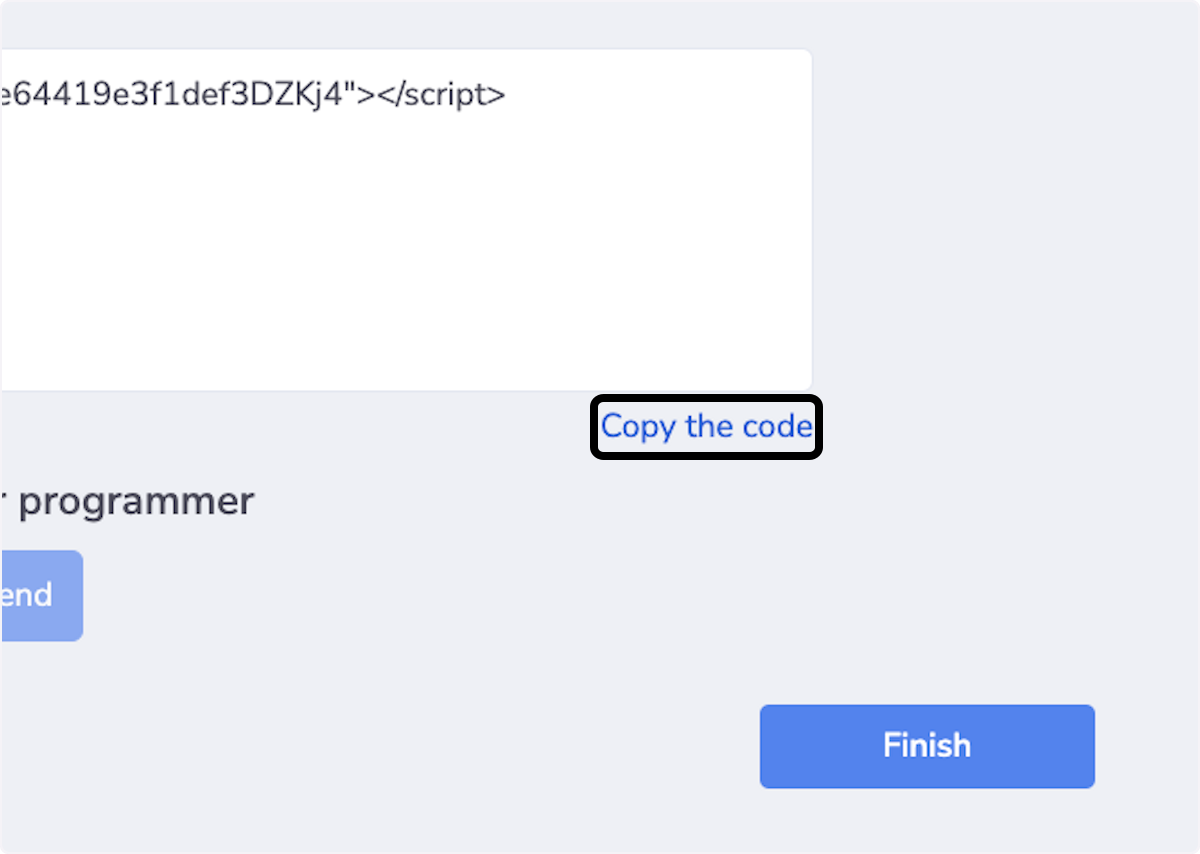
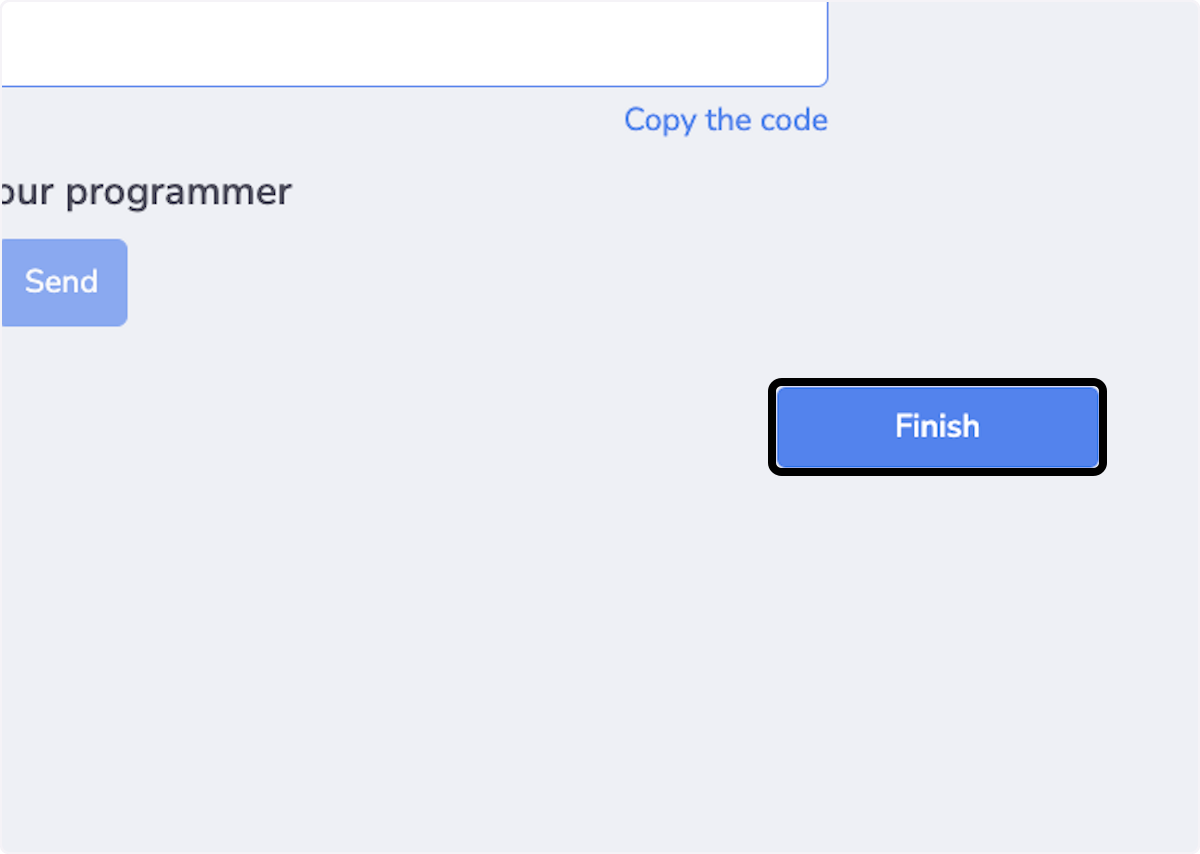
38. Click on Finish
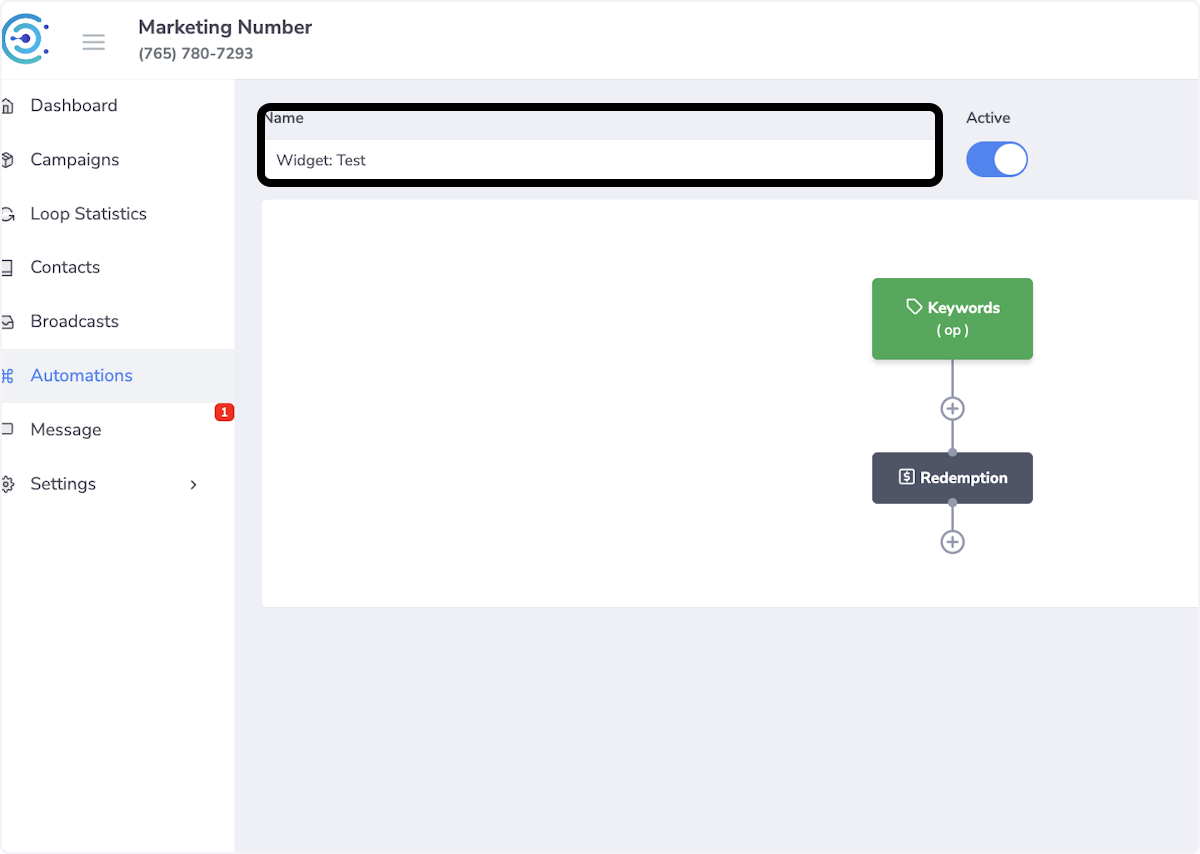
39. Click on Name to rename your automation
40. Click the plus sign to add more to the automation
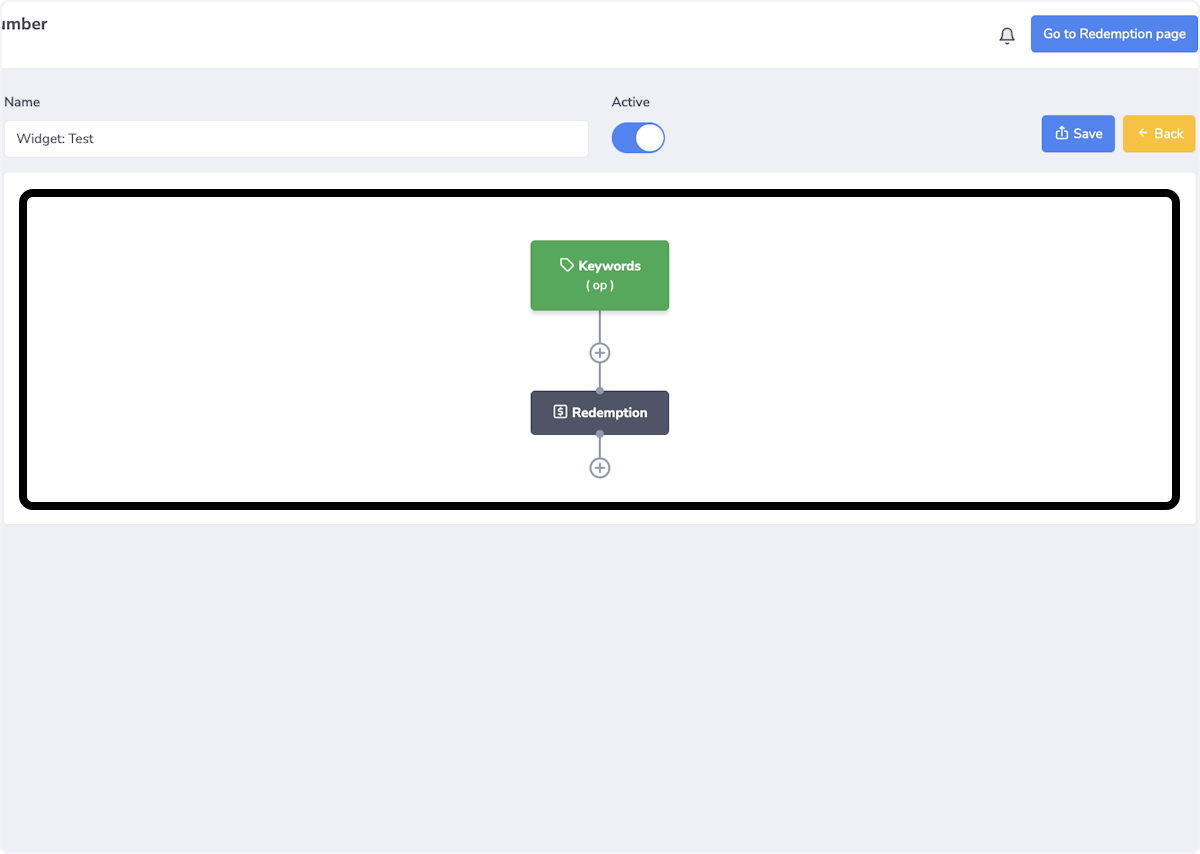
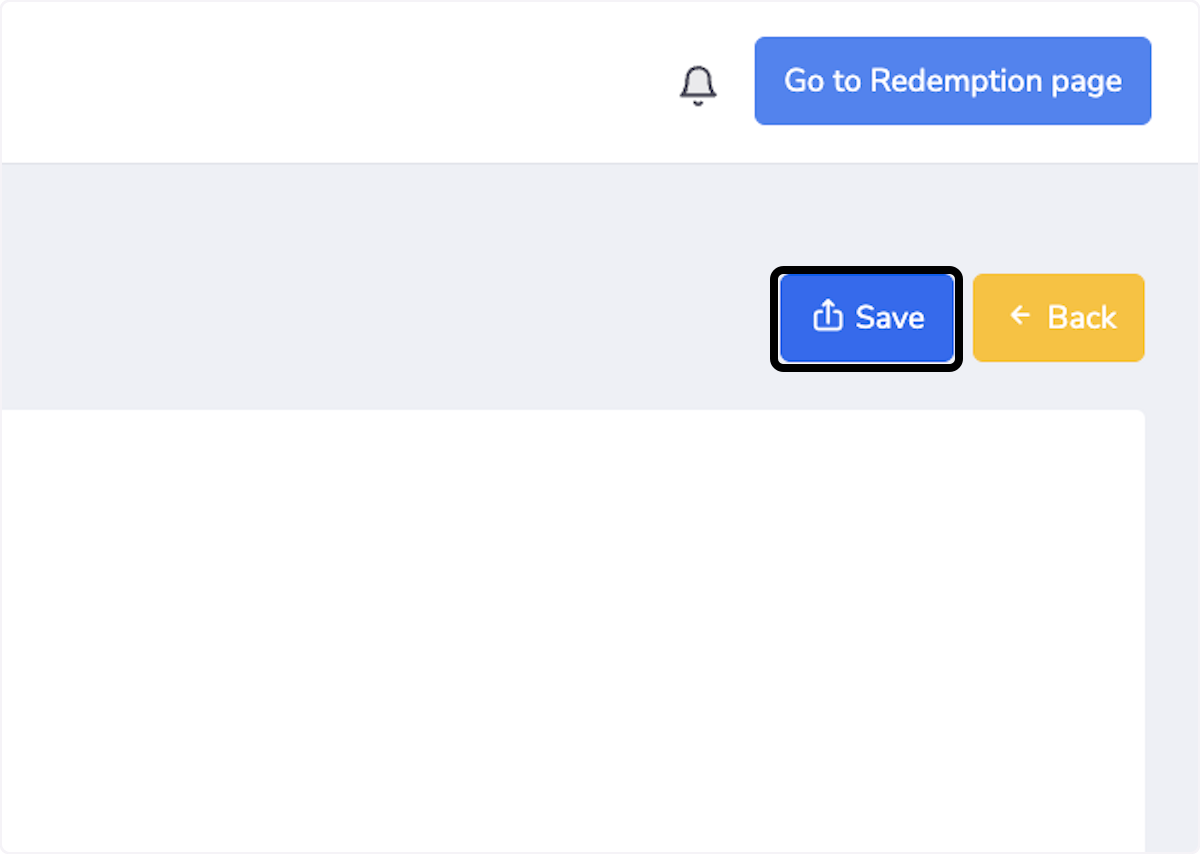
41. Click on Save